[{"CategoryType":0,"ParentID":6697,"Id":6698,"Name":"Main Documentation","FriendlyName":"main-documentation","Level":0,"Children":4,"Link":null,"Destination":null,"PostFile":null},{"CategoryType":0,"ParentID":6698,"Id":6701,"Name":"Getting Started","FriendlyName":"getting-started","Level":1,"Children":2,"Link":null,"Destination":null,"PostFile":null},{"CategoryType":0,"ParentID":6701,"Id":6705,"Name":"About Koolay","FriendlyName":"about-koolay","Level":2,"Children":0,"Link":null,"Destination":null,"PostFile":null},{"CategoryType":0,"ParentID":6701,"Id":6706,"Name":"Koolay Subscriptions","FriendlyName":"koolay-subscriptions","Level":2,"Children":0,"Link":null,"Destination":null,"PostFile":null},{"CategoryType":0,"ParentID":6698,"Id":23536,"Name":"New User Onboarding Guide","FriendlyName":"new-user-onboarding-guide","Level":1,"Children":0,"Link":null,"Destination":null,"PostFile":null},{"CategoryType":0,"ParentID":6698,"Id":6886,"Name":"How to manage Modules","FriendlyName":"how-to-manage-modules","Level":1,"Children":22,"Link":null,"Destination":null,"PostFile":null},{"CategoryType":0,"ParentID":6886,"Id":24439,"Name":"Account Module","FriendlyName":"account-module","Level":2,"Children":0,"Link":null,"Destination":null,"PostFile":null},{"CategoryType":0,"ParentID":6886,"Id":6889,"Name":"Category Module","FriendlyName":"category-module","Level":2,"Children":0,"Link":null,"Destination":null,"PostFile":null},{"CategoryType":0,"ParentID":6886,"Id":6888,"Name":"Content Module","FriendlyName":"content-module","Level":2,"Children":0,"Link":null,"Destination":null,"PostFile":null},{"CategoryType":0,"ParentID":6886,"Id":6893,"Name":"Gallery Module","FriendlyName":"gallery-module","Level":2,"Children":0,"Link":null,"Destination":null,"PostFile":null},{"CategoryType":0,"ParentID":6886,"Id":6890,"Name":"Banner Module","FriendlyName":"banner-module","Level":2,"Children":0,"Link":null,"Destination":null,"PostFile":null},{"CategoryType":0,"ParentID":6886,"Id":6894,"Name":"Popup Module","FriendlyName":"popup-module","Level":2,"Children":0,"Link":null,"Destination":null,"PostFile":null},{"CategoryType":0,"ParentID":6886,"Id":6895,"Name":"Survey Module","FriendlyName":"survey-module","Level":2,"Children":0,"Link":null,"Destination":null,"PostFile":null},{"CategoryType":0,"ParentID":6886,"Id":6896,"Name":"Events Module","FriendlyName":"events-module","Level":2,"Children":0,"Link":null,"Destination":null,"PostFile":null},{"CategoryType":0,"ParentID":6886,"Id":6897,"Name":"Members Module","FriendlyName":"members-module","Level":2,"Children":0,"Link":null,"Destination":null,"PostFile":null},{"CategoryType":0,"ParentID":6886,"Id":44524,"Name":"E-Guide Module","FriendlyName":"e-guide-module","Level":2,"Children":0,"Link":null,"Destination":null,"PostFile":null},{"CategoryType":0,"ParentID":6886,"Id":6898,"Name":"Staff Module","FriendlyName":"staff-module","Level":2,"Children":0,"Link":null,"Destination":null,"PostFile":null},{"CategoryType":0,"ParentID":6886,"Id":6899,"Name":"Bulletin Module","FriendlyName":"bulletin-module","Level":2,"Children":0,"Link":null,"Destination":null,"PostFile":null},{"CategoryType":0,"ParentID":6886,"Id":6900,"Name":"Email List Module","FriendlyName":"email-list-module","Level":2,"Children":0,"Link":null,"Destination":null,"PostFile":null},{"CategoryType":0,"ParentID":6886,"Id":6901,"Name":"Forms Module","FriendlyName":"forms-module","Level":2,"Children":3,"Link":null,"Destination":null,"PostFile":null},{"CategoryType":0,"ParentID":6901,"Id":24969,"Name":"Beginning","FriendlyName":"beginning","Level":3,"Children":0,"Link":null,"Destination":null,"PostFile":null},{"CategoryType":0,"ParentID":6901,"Id":24820,"Name":"Forms","FriendlyName":"forms","Level":3,"Children":0,"Link":null,"Destination":null,"PostFile":null},{"CategoryType":0,"ParentID":6901,"Id":24821,"Name":"Applications","FriendlyName":"applications","Level":3,"Children":0,"Link":null,"Destination":null,"PostFile":null},{"CategoryType":0,"ParentID":6886,"Id":6902,"Name":"AI Settings Module","FriendlyName":"ai-settings-module","Level":2,"Children":0,"Link":null,"Destination":null,"PostFile":null},{"CategoryType":0,"ParentID":6886,"Id":6903,"Name":"Security Module","FriendlyName":"security-module","Level":2,"Children":0,"Link":null,"Destination":null,"PostFile":null},{"CategoryType":0,"ParentID":6886,"Id":6904,"Name":"Tools Module","FriendlyName":"tools-module","Level":2,"Children":3,"Link":null,"Destination":null,"PostFile":null},{"CategoryType":0,"ParentID":6904,"Id":14431,"Name":"Image Editor","FriendlyName":"image-editor","Level":3,"Children":0,"Link":null,"Destination":null,"PostFile":null},{"CategoryType":0,"ParentID":6904,"Id":14432,"Name":"Code Editor","FriendlyName":"code-editor","Level":3,"Children":0,"Link":null,"Destination":null,"PostFile":null},{"CategoryType":0,"ParentID":6904,"Id":14433,"Name":"File Manager","FriendlyName":"file-manager","Level":3,"Children":0,"Link":null,"Destination":null,"PostFile":null},{"CategoryType":0,"ParentID":6886,"Id":6905,"Name":"Settings Module","FriendlyName":"settings-module","Level":2,"Children":7,"Link":null,"Destination":null,"PostFile":null},{"CategoryType":0,"ParentID":6905,"Id":25415,"Name":"Beginning","FriendlyName":"beginning","Level":3,"Children":0,"Link":null,"Destination":null,"PostFile":null},{"CategoryType":0,"ParentID":6905,"Id":25416,"Name":"Site Configurations","FriendlyName":"site-configurations","Level":3,"Children":0,"Link":null,"Destination":null,"PostFile":null},{"CategoryType":0,"ParentID":6905,"Id":25417,"Name":"System Settings","FriendlyName":"system-settings","Level":3,"Children":0,"Link":null,"Destination":null,"PostFile":null},{"CategoryType":0,"ParentID":6905,"Id":25418,"Name":"Event Log","FriendlyName":"event-log","Level":3,"Children":0,"Link":null,"Destination":null,"PostFile":null},{"CategoryType":0,"ParentID":6905,"Id":25419,"Name":"HomePage Settings","FriendlyName":"homepage-settings","Level":3,"Children":0,"Link":null,"Destination":null,"PostFile":null},{"CategoryType":0,"ParentID":6905,"Id":25420,"Name":"Customer Language","FriendlyName":"customer-language","Level":3,"Children":0,"Link":null,"Destination":null,"PostFile":null},{"CategoryType":0,"ParentID":6905,"Id":25422,"Name":"Site Constants","FriendlyName":"site-constants","Level":3,"Children":0,"Link":null,"Destination":null,"PostFile":null},{"CategoryType":0,"ParentID":6886,"Id":31648,"Name":"Community Module","FriendlyName":"community-module","Level":2,"Children":0,"Link":null,"Destination":null,"PostFile":null},{"CategoryType":0,"ParentID":6886,"Id":28629,"Name":"Feature Track Module","FriendlyName":"feature-track-module","Level":2,"Children":0,"Link":null,"Destination":null,"PostFile":null},{"CategoryType":0,"ParentID":6886,"Id":31647,"Name":"Blog Module","FriendlyName":"blog-module","Level":2,"Children":0,"Link":null,"Destination":null,"PostFile":null},{"CategoryType":0,"ParentID":6886,"Id":35746,"Name":"Social Media Posting Module","FriendlyName":"social-media-posting-module","Level":2,"Children":0,"Link":null,"Destination":null,"PostFile":null},{"CategoryType":0,"ParentID":6698,"Id":6891,"Name":"Questions \u0026amp; Answers","FriendlyName":"questions-answers","Level":1,"Children":14,"Link":null,"Destination":null,"PostFile":null},{"CategoryType":0,"ParentID":6891,"Id":20480,"Name":"Koolay Console","FriendlyName":"koolay-console","Level":2,"Children":0,"Link":null,"Destination":null,"PostFile":null},{"CategoryType":0,"ParentID":6891,"Id":20481,"Name":"Category Module","FriendlyName":"category","Level":2,"Children":0,"Link":null,"Destination":null,"PostFile":null},{"CategoryType":0,"ParentID":6891,"Id":20482,"Name":"Content Module","FriendlyName":"content","Level":2,"Children":0,"Link":null,"Destination":null,"PostFile":null},{"CategoryType":0,"ParentID":6891,"Id":20483,"Name":"Gallery Module","FriendlyName":"gallery","Level":2,"Children":0,"Link":null,"Destination":null,"PostFile":null},{"CategoryType":0,"ParentID":6891,"Id":20484,"Name":"Banner Module","FriendlyName":"banner","Level":2,"Children":0,"Link":null,"Destination":null,"PostFile":null},{"CategoryType":0,"ParentID":6891,"Id":20485,"Name":"Pop-up Module","FriendlyName":"pop-up","Level":2,"Children":0,"Link":null,"Destination":null,"PostFile":null},{"CategoryType":0,"ParentID":6891,"Id":20486,"Name":"Events Module","FriendlyName":"events","Level":2,"Children":0,"Link":null,"Destination":null,"PostFile":null},{"CategoryType":0,"ParentID":6891,"Id":20487,"Name":"Staff Module","FriendlyName":"staff","Level":2,"Children":0,"Link":null,"Destination":null,"PostFile":null},{"CategoryType":0,"ParentID":6891,"Id":20488,"Name":"Members Module","FriendlyName":"members","Level":2,"Children":0,"Link":null,"Destination":null,"PostFile":null},{"CategoryType":0,"ParentID":6891,"Id":20489,"Name":"Forms Module","FriendlyName":"forms","Level":2,"Children":0,"Link":null,"Destination":null,"PostFile":null},{"CategoryType":0,"ParentID":6891,"Id":20490,"Name":"Account Module","FriendlyName":"account","Level":2,"Children":0,"Link":null,"Destination":null,"PostFile":null},{"CategoryType":0,"ParentID":6891,"Id":20491,"Name":"Security Module","FriendlyName":"security","Level":2,"Children":0,"Link":null,"Destination":null,"PostFile":null},{"CategoryType":0,"ParentID":6891,"Id":20492,"Name":"Tools Module","FriendlyName":"tools","Level":2,"Children":0,"Link":null,"Destination":null,"PostFile":null},{"CategoryType":0,"ParentID":6891,"Id":20493,"Name":"Settings Module","FriendlyName":"settings","Level":2,"Children":0,"Link":null,"Destination":null,"PostFile":null},{"CategoryType":0,"ParentID":6697,"Id":6699,"Name":"Guides","FriendlyName":"guides","Level":0,"Children":1,"Link":null,"Destination":null,"PostFile":null},{"CategoryType":0,"ParentID":6699,"Id":6703,"Name":"Guides","FriendlyName":"guides","Level":1,"Children":1,"Link":null,"Destination":null,"PostFile":null},{"CategoryType":0,"ParentID":6703,"Id":6708,"Name":"Choosing the Right Subscription Plan","FriendlyName":"choosing-the-right-subscription-plan","Level":2,"Children":0,"Link":null,"Destination":null,"PostFile":null},{"CategoryType":0,"ParentID":6697,"Id":6700,"Name":"FAQ","FriendlyName":"faq","Level":0,"Children":1,"Link":null,"Destination":null,"PostFile":null},{"CategoryType":0,"ParentID":6700,"Id":6704,"Name":"FAQ","FriendlyName":"faq","Level":1,"Children":2,"Link":null,"Destination":null,"PostFile":null},{"CategoryType":0,"ParentID":6704,"Id":6710,"Name":"GENERAL","FriendlyName":"general","Level":2,"Children":0,"Link":null,"Destination":null,"PostFile":null},{"CategoryType":0,"ParentID":6704,"Id":6711,"Name":"Licensing","FriendlyName":"licensing","Level":2,"Children":0,"Link":null,"Destination":null,"PostFile":null},{"CategoryType":0,"ParentID":6697,"Id":6793,"Name":"Support","FriendlyName":"support","Level":0,"Children":3,"Link":"https://support.koolay.com","Destination":null,"PostFile":null},{"CategoryType":0,"ParentID":6793,"Id":6794,"Name":"Professional Support","FriendlyName":"professional-support","Level":1,"Children":0,"Link":null,"Destination":null,"PostFile":null},{"CategoryType":0,"ParentID":6793,"Id":6796,"Name":"Release Notes","FriendlyName":"release-notes","Level":1,"Children":0,"Link":null,"Destination":null,"PostFile":null},{"CategoryType":0,"ParentID":6793,"Id":6795,"Name":"Sending a Feedback","FriendlyName":"sending-a-feedback","Level":1,"Children":0,"Link":null,"Destination":null,"PostFile":null},{"CategoryType":0,"ParentID":6697,"Id":6875,"Name":"Legal","FriendlyName":"legal","Level":0,"Children":3,"Link":null,"Destination":null,"PostFile":null},{"CategoryType":0,"ParentID":6875,"Id":6876,"Name":"Privacy Policy","FriendlyName":"privacy-policy","Level":1,"Children":0,"Link":null,"Destination":null,"PostFile":null},{"CategoryType":0,"ParentID":6875,"Id":6877,"Name":"Terms of Service","FriendlyName":"terms-of-service","Level":1,"Children":0,"Link":null,"Destination":null,"PostFile":null},{"CategoryType":0,"ParentID":6875,"Id":6878,"Name":"Terms of Use","FriendlyName":"terms-of-use","Level":1,"Children":0,"Link":null,"Destination":null,"PostFile":null}]
31647
Blog Module Setup
1. Log in to the Koolay Console.
2. Open the “Category List” page under the “Category” tab.
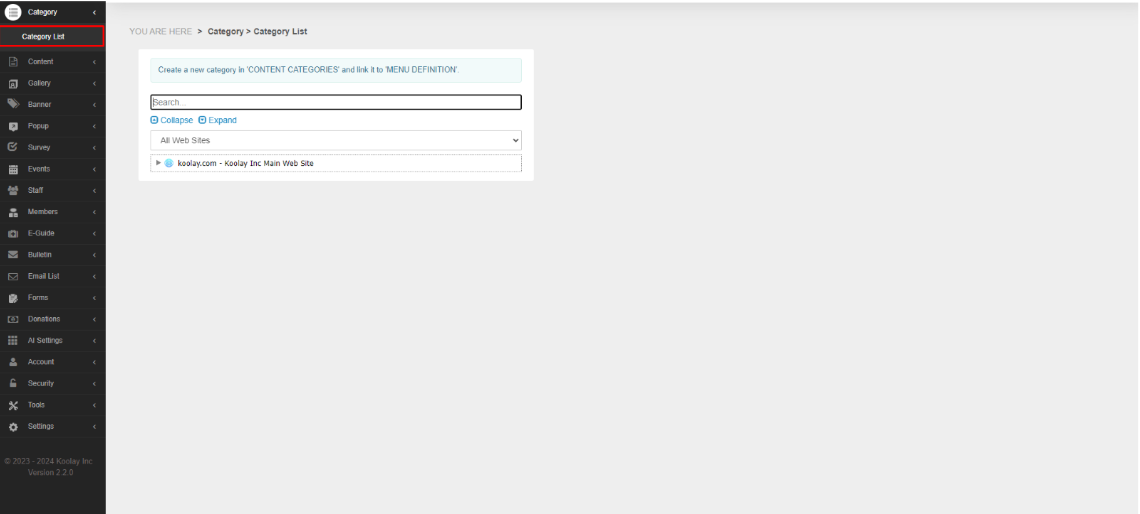
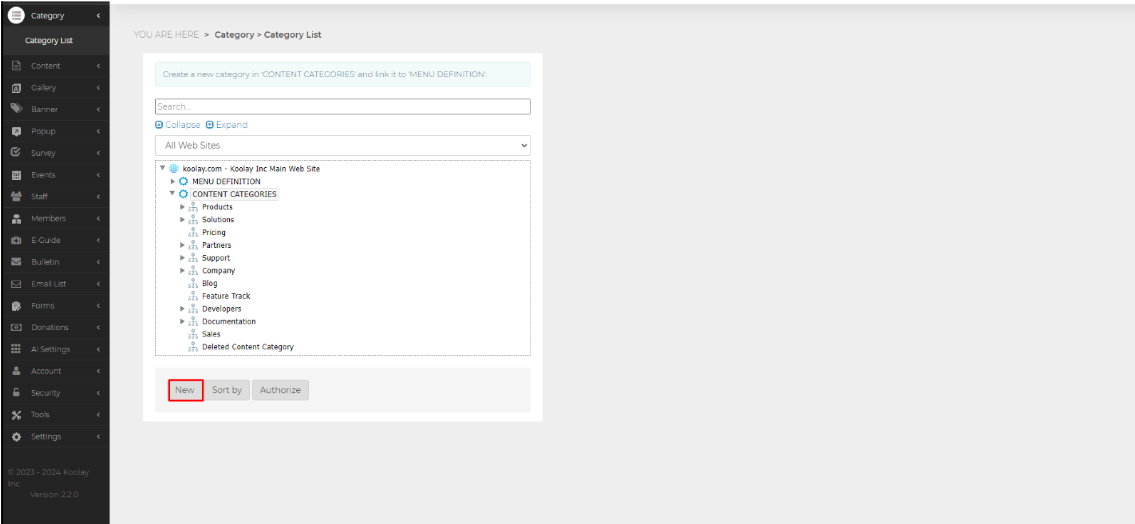
3. Select your site from the drop-down list on the right and select the “Content Categories” heading to add the Blog page.
4. Press the “New” button below.
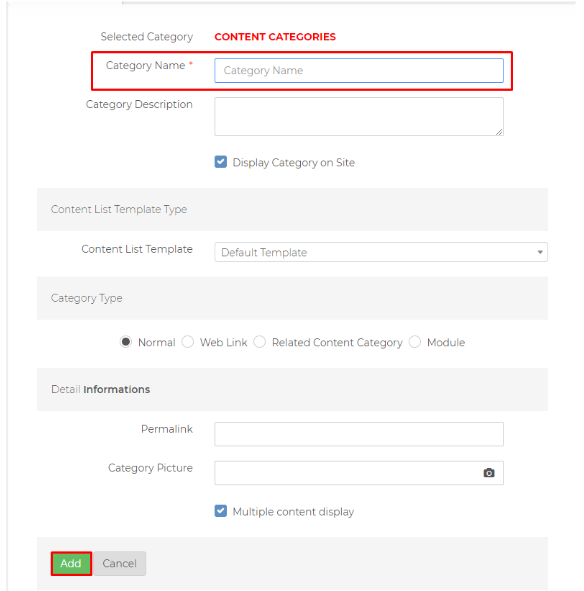
5. Type “Blog” in the “Category Name” section and click the “Add” button below.
6. After creating the blog page, click on the blog page in the list on the left.
7. Open the “Registration Information” tab on the right-hand side.
8. Copy the number next to “Category ID”. We will use this number in Site configurations.
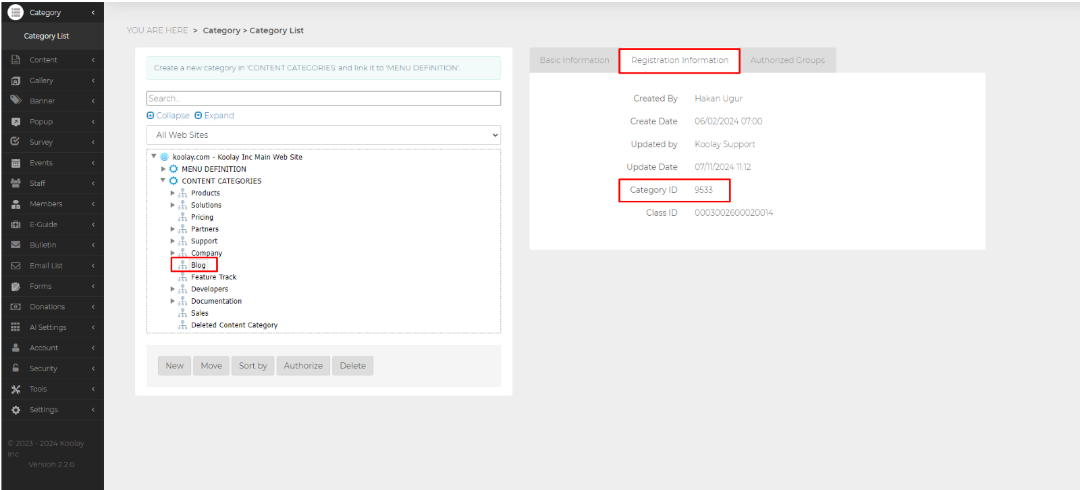
9. Copy the number next to “Category ID”. We will use this number in Site configurations.
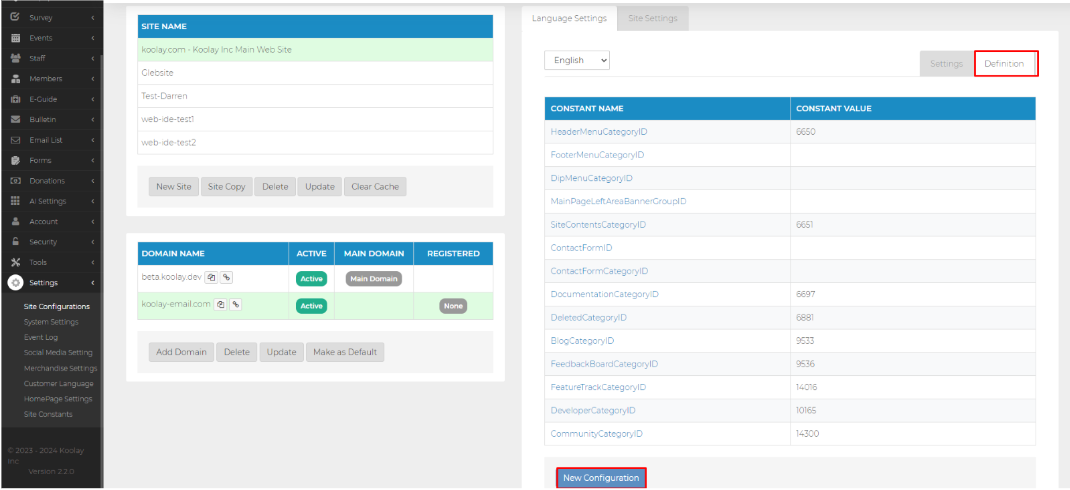
10. Select the site you want to add the blog module to and open the “Definition” tab on the right.
11. Press the “New Configuration” button at the bottom of the page.
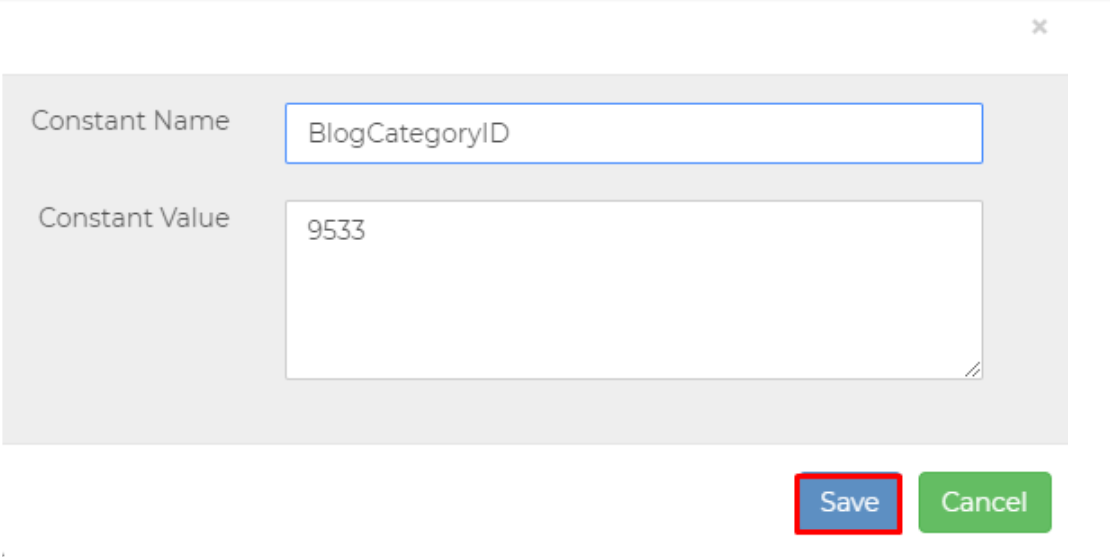
12. In the “Constant Name” section, type “BlogCategoryID”.
13. In the “Constant Value” section, type the number you copied from the Category list page.
14. Finally, press the “Save” button.
15. Then select “Module” from the “Category Type” section.
16. Select “Blog” from the Module List
17. Finally press the “Update” button.
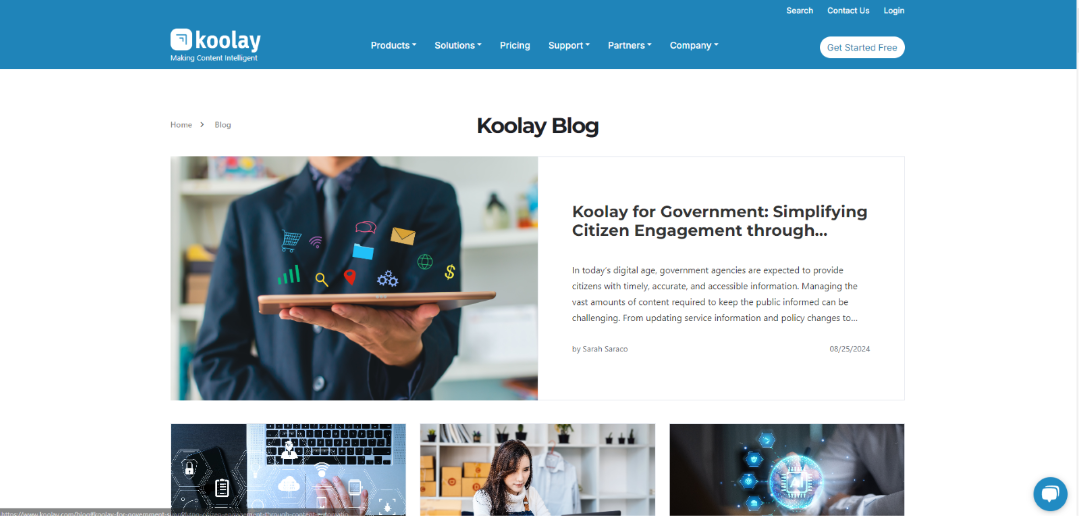
Blog Page
1. If you haven't linked the blog page to any menu, you can access the page by typing /blog next to your site address. For example: www.koolay.com/blog
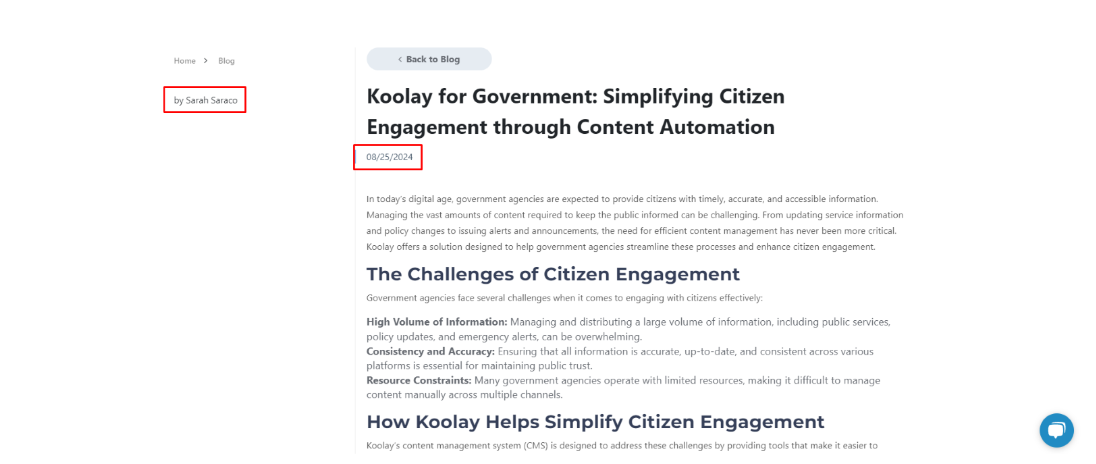
2. Open any content.
3. On the left side of the content you can see the author of that content.
4. under the title you can see the date the content was entered.
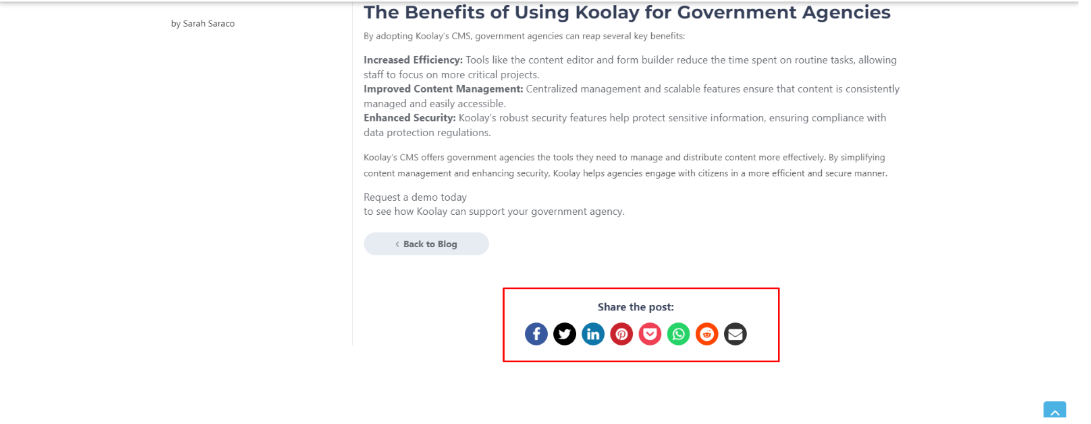
5. You can share that content on your social media accounts using the social media buttons at the bottom of the page.
Adding new blog content
1. After logging into the Koolay Console, select the “New Content” page under the “Content” menu.
2. After you have written all the necessary content information and content, check the “Blog” page in the “Content Category(s)” section on the right.

3. Finally, press the “Save Content” button.
Last updated on 2024-09-03 13:50:03Z by Koolay