[{"CategoryType":0,"ParentID":6697,"Id":6698,"Name":"Main Documentation","FriendlyName":"main-documentation","Level":0,"Children":4,"Link":null,"Destination":null,"PostFile":null},{"CategoryType":0,"ParentID":6698,"Id":6701,"Name":"Getting Started","FriendlyName":"getting-started","Level":1,"Children":2,"Link":null,"Destination":null,"PostFile":null},{"CategoryType":0,"ParentID":6701,"Id":6705,"Name":"About Koolay","FriendlyName":"about-koolay","Level":2,"Children":0,"Link":null,"Destination":null,"PostFile":null},{"CategoryType":0,"ParentID":6701,"Id":6706,"Name":"Koolay Subscriptions","FriendlyName":"koolay-subscriptions","Level":2,"Children":0,"Link":null,"Destination":null,"PostFile":null},{"CategoryType":0,"ParentID":6698,"Id":23536,"Name":"New User Onboarding Guide","FriendlyName":"new-user-onboarding-guide","Level":1,"Children":0,"Link":null,"Destination":null,"PostFile":null},{"CategoryType":0,"ParentID":6698,"Id":6886,"Name":"How to manage Modules","FriendlyName":"how-to-manage-modules","Level":1,"Children":22,"Link":null,"Destination":null,"PostFile":null},{"CategoryType":0,"ParentID":6886,"Id":24439,"Name":"Account Module","FriendlyName":"account-module","Level":2,"Children":0,"Link":null,"Destination":null,"PostFile":null},{"CategoryType":0,"ParentID":6886,"Id":6889,"Name":"Category Module","FriendlyName":"category-module","Level":2,"Children":0,"Link":null,"Destination":null,"PostFile":null},{"CategoryType":0,"ParentID":6886,"Id":6888,"Name":"Content Module","FriendlyName":"content-module","Level":2,"Children":0,"Link":null,"Destination":null,"PostFile":null},{"CategoryType":0,"ParentID":6886,"Id":6893,"Name":"Gallery Module","FriendlyName":"gallery-module","Level":2,"Children":0,"Link":null,"Destination":null,"PostFile":null},{"CategoryType":0,"ParentID":6886,"Id":6890,"Name":"Banner Module","FriendlyName":"banner-module","Level":2,"Children":0,"Link":null,"Destination":null,"PostFile":null},{"CategoryType":0,"ParentID":6886,"Id":6894,"Name":"Popup Module","FriendlyName":"popup-module","Level":2,"Children":0,"Link":null,"Destination":null,"PostFile":null},{"CategoryType":0,"ParentID":6886,"Id":6895,"Name":"Survey Module","FriendlyName":"survey-module","Level":2,"Children":0,"Link":null,"Destination":null,"PostFile":null},{"CategoryType":0,"ParentID":6886,"Id":6896,"Name":"Events Module","FriendlyName":"events-module","Level":2,"Children":0,"Link":null,"Destination":null,"PostFile":null},{"CategoryType":0,"ParentID":6886,"Id":6897,"Name":"Members Module","FriendlyName":"members-module","Level":2,"Children":0,"Link":null,"Destination":null,"PostFile":null},{"CategoryType":0,"ParentID":6886,"Id":44524,"Name":"E-Guide Module","FriendlyName":"e-guide-module","Level":2,"Children":0,"Link":null,"Destination":null,"PostFile":null},{"CategoryType":0,"ParentID":6886,"Id":6898,"Name":"Staff Module","FriendlyName":"staff-module","Level":2,"Children":0,"Link":null,"Destination":null,"PostFile":null},{"CategoryType":0,"ParentID":6886,"Id":6899,"Name":"Bulletin Module","FriendlyName":"bulletin-module","Level":2,"Children":0,"Link":null,"Destination":null,"PostFile":null},{"CategoryType":0,"ParentID":6886,"Id":6900,"Name":"Email List Module","FriendlyName":"email-list-module","Level":2,"Children":0,"Link":null,"Destination":null,"PostFile":null},{"CategoryType":0,"ParentID":6886,"Id":6901,"Name":"Forms Module","FriendlyName":"forms-module","Level":2,"Children":3,"Link":null,"Destination":null,"PostFile":null},{"CategoryType":0,"ParentID":6901,"Id":24969,"Name":"Beginning","FriendlyName":"beginning","Level":3,"Children":0,"Link":null,"Destination":null,"PostFile":null},{"CategoryType":0,"ParentID":6901,"Id":24820,"Name":"Forms","FriendlyName":"forms","Level":3,"Children":0,"Link":null,"Destination":null,"PostFile":null},{"CategoryType":0,"ParentID":6901,"Id":24821,"Name":"Applications","FriendlyName":"applications","Level":3,"Children":0,"Link":null,"Destination":null,"PostFile":null},{"CategoryType":0,"ParentID":6886,"Id":6902,"Name":"AI Settings Module","FriendlyName":"ai-settings-module","Level":2,"Children":0,"Link":null,"Destination":null,"PostFile":null},{"CategoryType":0,"ParentID":6886,"Id":6903,"Name":"Security Module","FriendlyName":"security-module","Level":2,"Children":0,"Link":null,"Destination":null,"PostFile":null},{"CategoryType":0,"ParentID":6886,"Id":6904,"Name":"Tools Module","FriendlyName":"tools-module","Level":2,"Children":3,"Link":null,"Destination":null,"PostFile":null},{"CategoryType":0,"ParentID":6904,"Id":14431,"Name":"Image Editor","FriendlyName":"image-editor","Level":3,"Children":0,"Link":null,"Destination":null,"PostFile":null},{"CategoryType":0,"ParentID":6904,"Id":14432,"Name":"Code Editor","FriendlyName":"code-editor","Level":3,"Children":0,"Link":null,"Destination":null,"PostFile":null},{"CategoryType":0,"ParentID":6904,"Id":14433,"Name":"File Manager","FriendlyName":"file-manager","Level":3,"Children":0,"Link":null,"Destination":null,"PostFile":null},{"CategoryType":0,"ParentID":6886,"Id":6905,"Name":"Settings Module","FriendlyName":"settings-module","Level":2,"Children":7,"Link":null,"Destination":null,"PostFile":null},{"CategoryType":0,"ParentID":6905,"Id":25415,"Name":"Beginning","FriendlyName":"beginning","Level":3,"Children":0,"Link":null,"Destination":null,"PostFile":null},{"CategoryType":0,"ParentID":6905,"Id":25416,"Name":"Site Configurations","FriendlyName":"site-configurations","Level":3,"Children":0,"Link":null,"Destination":null,"PostFile":null},{"CategoryType":0,"ParentID":6905,"Id":25417,"Name":"System Settings","FriendlyName":"system-settings","Level":3,"Children":0,"Link":null,"Destination":null,"PostFile":null},{"CategoryType":0,"ParentID":6905,"Id":25418,"Name":"Event Log","FriendlyName":"event-log","Level":3,"Children":0,"Link":null,"Destination":null,"PostFile":null},{"CategoryType":0,"ParentID":6905,"Id":25419,"Name":"HomePage Settings","FriendlyName":"homepage-settings","Level":3,"Children":0,"Link":null,"Destination":null,"PostFile":null},{"CategoryType":0,"ParentID":6905,"Id":25420,"Name":"Customer Language","FriendlyName":"customer-language","Level":3,"Children":0,"Link":null,"Destination":null,"PostFile":null},{"CategoryType":0,"ParentID":6905,"Id":25422,"Name":"Site Constants","FriendlyName":"site-constants","Level":3,"Children":0,"Link":null,"Destination":null,"PostFile":null},{"CategoryType":0,"ParentID":6886,"Id":31648,"Name":"Community Module","FriendlyName":"community-module","Level":2,"Children":0,"Link":null,"Destination":null,"PostFile":null},{"CategoryType":0,"ParentID":6886,"Id":28629,"Name":"Feature Track Module","FriendlyName":"feature-track-module","Level":2,"Children":0,"Link":null,"Destination":null,"PostFile":null},{"CategoryType":0,"ParentID":6886,"Id":31647,"Name":"Blog Module","FriendlyName":"blog-module","Level":2,"Children":0,"Link":null,"Destination":null,"PostFile":null},{"CategoryType":0,"ParentID":6886,"Id":35746,"Name":"Social Media Posting Module","FriendlyName":"social-media-posting-module","Level":2,"Children":0,"Link":null,"Destination":null,"PostFile":null},{"CategoryType":0,"ParentID":6698,"Id":6891,"Name":"Questions \u0026amp; Answers","FriendlyName":"questions-answers","Level":1,"Children":14,"Link":null,"Destination":null,"PostFile":null},{"CategoryType":0,"ParentID":6891,"Id":20480,"Name":"Koolay Console","FriendlyName":"koolay-console","Level":2,"Children":0,"Link":null,"Destination":null,"PostFile":null},{"CategoryType":0,"ParentID":6891,"Id":20481,"Name":"Category Module","FriendlyName":"category","Level":2,"Children":0,"Link":null,"Destination":null,"PostFile":null},{"CategoryType":0,"ParentID":6891,"Id":20482,"Name":"Content Module","FriendlyName":"content","Level":2,"Children":0,"Link":null,"Destination":null,"PostFile":null},{"CategoryType":0,"ParentID":6891,"Id":20483,"Name":"Gallery Module","FriendlyName":"gallery","Level":2,"Children":0,"Link":null,"Destination":null,"PostFile":null},{"CategoryType":0,"ParentID":6891,"Id":20484,"Name":"Banner Module","FriendlyName":"banner","Level":2,"Children":0,"Link":null,"Destination":null,"PostFile":null},{"CategoryType":0,"ParentID":6891,"Id":20485,"Name":"Pop-up Module","FriendlyName":"pop-up","Level":2,"Children":0,"Link":null,"Destination":null,"PostFile":null},{"CategoryType":0,"ParentID":6891,"Id":20486,"Name":"Events Module","FriendlyName":"events","Level":2,"Children":0,"Link":null,"Destination":null,"PostFile":null},{"CategoryType":0,"ParentID":6891,"Id":20487,"Name":"Staff Module","FriendlyName":"staff","Level":2,"Children":0,"Link":null,"Destination":null,"PostFile":null},{"CategoryType":0,"ParentID":6891,"Id":20488,"Name":"Members Module","FriendlyName":"members","Level":2,"Children":0,"Link":null,"Destination":null,"PostFile":null},{"CategoryType":0,"ParentID":6891,"Id":20489,"Name":"Forms Module","FriendlyName":"forms","Level":2,"Children":0,"Link":null,"Destination":null,"PostFile":null},{"CategoryType":0,"ParentID":6891,"Id":20490,"Name":"Account Module","FriendlyName":"account","Level":2,"Children":0,"Link":null,"Destination":null,"PostFile":null},{"CategoryType":0,"ParentID":6891,"Id":20491,"Name":"Security Module","FriendlyName":"security","Level":2,"Children":0,"Link":null,"Destination":null,"PostFile":null},{"CategoryType":0,"ParentID":6891,"Id":20492,"Name":"Tools Module","FriendlyName":"tools","Level":2,"Children":0,"Link":null,"Destination":null,"PostFile":null},{"CategoryType":0,"ParentID":6891,"Id":20493,"Name":"Settings Module","FriendlyName":"settings","Level":2,"Children":0,"Link":null,"Destination":null,"PostFile":null},{"CategoryType":0,"ParentID":6697,"Id":6699,"Name":"Guides","FriendlyName":"guides","Level":0,"Children":1,"Link":null,"Destination":null,"PostFile":null},{"CategoryType":0,"ParentID":6699,"Id":6703,"Name":"Guides","FriendlyName":"guides","Level":1,"Children":1,"Link":null,"Destination":null,"PostFile":null},{"CategoryType":0,"ParentID":6703,"Id":6708,"Name":"Choosing the Right Subscription Plan","FriendlyName":"choosing-the-right-subscription-plan","Level":2,"Children":0,"Link":null,"Destination":null,"PostFile":null},{"CategoryType":0,"ParentID":6697,"Id":6700,"Name":"FAQ","FriendlyName":"faq","Level":0,"Children":1,"Link":null,"Destination":null,"PostFile":null},{"CategoryType":0,"ParentID":6700,"Id":6704,"Name":"FAQ","FriendlyName":"faq","Level":1,"Children":2,"Link":null,"Destination":null,"PostFile":null},{"CategoryType":0,"ParentID":6704,"Id":6710,"Name":"GENERAL","FriendlyName":"general","Level":2,"Children":0,"Link":null,"Destination":null,"PostFile":null},{"CategoryType":0,"ParentID":6704,"Id":6711,"Name":"Licensing","FriendlyName":"licensing","Level":2,"Children":0,"Link":null,"Destination":null,"PostFile":null},{"CategoryType":0,"ParentID":6697,"Id":6793,"Name":"Support","FriendlyName":"support","Level":0,"Children":3,"Link":"https://support.koolay.com","Destination":null,"PostFile":null},{"CategoryType":0,"ParentID":6793,"Id":6794,"Name":"Professional Support","FriendlyName":"professional-support","Level":1,"Children":0,"Link":null,"Destination":null,"PostFile":null},{"CategoryType":0,"ParentID":6793,"Id":6796,"Name":"Release Notes","FriendlyName":"release-notes","Level":1,"Children":0,"Link":null,"Destination":null,"PostFile":null},{"CategoryType":0,"ParentID":6793,"Id":6795,"Name":"Sending a Feedback","FriendlyName":"sending-a-feedback","Level":1,"Children":0,"Link":null,"Destination":null,"PostFile":null},{"CategoryType":0,"ParentID":6697,"Id":6875,"Name":"Legal","FriendlyName":"legal","Level":0,"Children":3,"Link":null,"Destination":null,"PostFile":null},{"CategoryType":0,"ParentID":6875,"Id":6876,"Name":"Privacy Policy","FriendlyName":"privacy-policy","Level":1,"Children":0,"Link":null,"Destination":null,"PostFile":null},{"CategoryType":0,"ParentID":6875,"Id":6877,"Name":"Terms of Service","FriendlyName":"terms-of-service","Level":1,"Children":0,"Link":null,"Destination":null,"PostFile":null},{"CategoryType":0,"ParentID":6875,"Id":6878,"Name":"Terms of Use","FriendlyName":"terms-of-use","Level":1,"Children":0,"Link":null,"Destination":null,"PostFile":null}]
6903
Accessing the Security Module
-
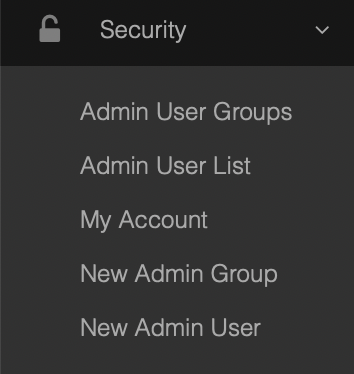
Click on the “Security” link on the left side of your toolbar.
-
The security module is essential for defining, updating, and authorizing system users. Identify the user groups they will belong to before proceeding.
Managing Admin User Groups
-
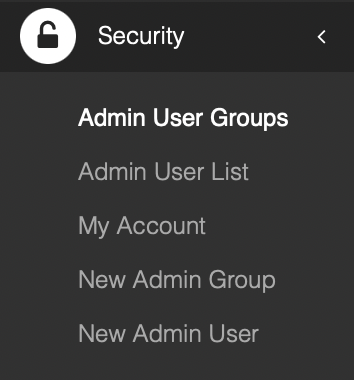
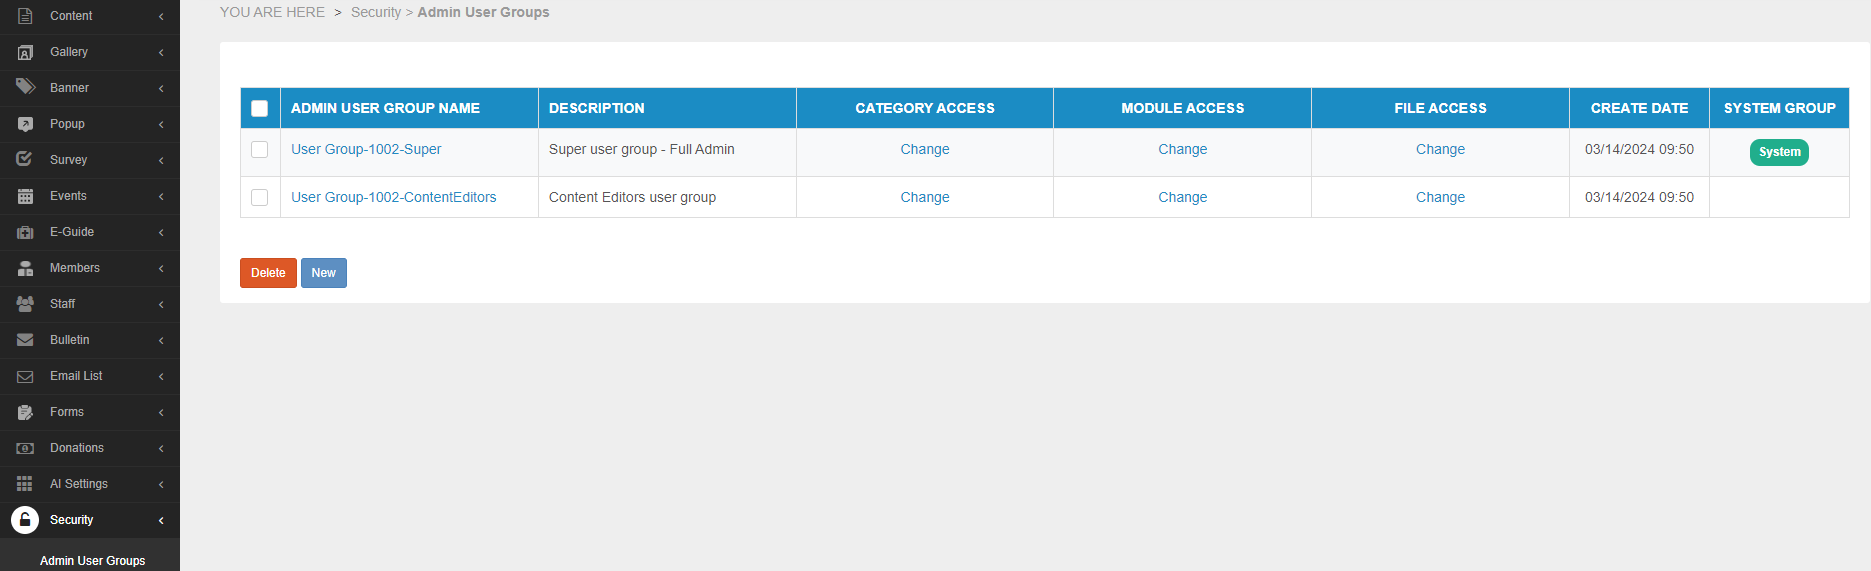
Click on the "Security” link on your toolbar, then select the “Admin User Groups” link.
-
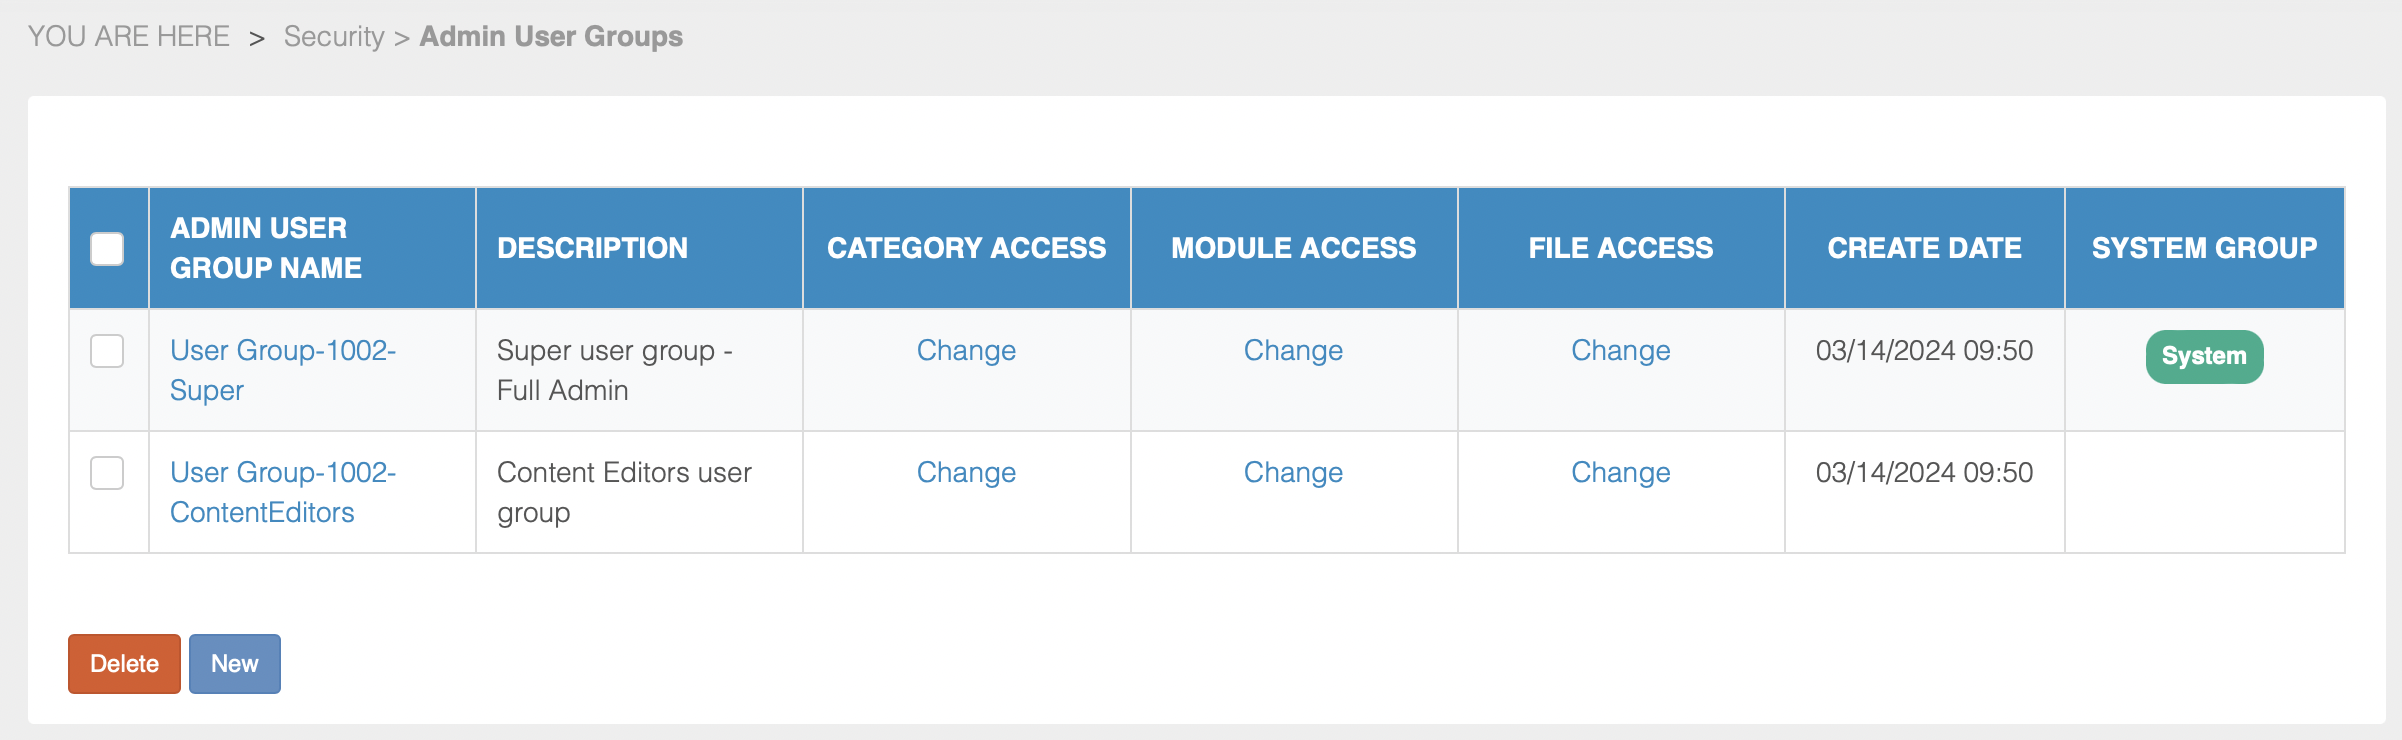
Upon initial setup, two system user groups are created automatically: the “Super User Group,” with access to all modules and categories, and the “Content Editors Group,” with limited access.
-
View the list of admin user groups, including details like group name, description, and authorizations.
Viewing the Admin User List
-
Click on the "Security” link, then select the “Admin User List” link.
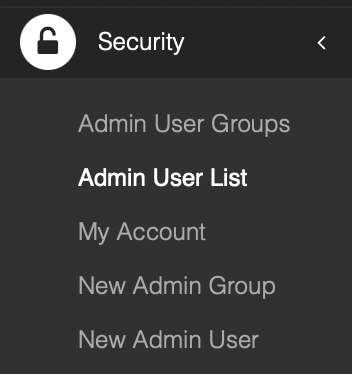
-
This page displays all users, their group names, status (active or passive), and levels (user, admin, super admin).
-
Use the filtering section at the top of the page to locate specific users easily.

Editing My Account
-
Click on the "Security” link, then select the “My Account” link.
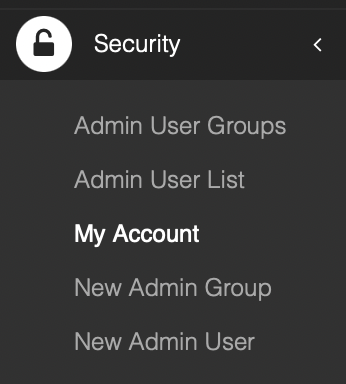
-
Edit your profile information, such as first name, last name, and password.
Creating a New Admin Group
-
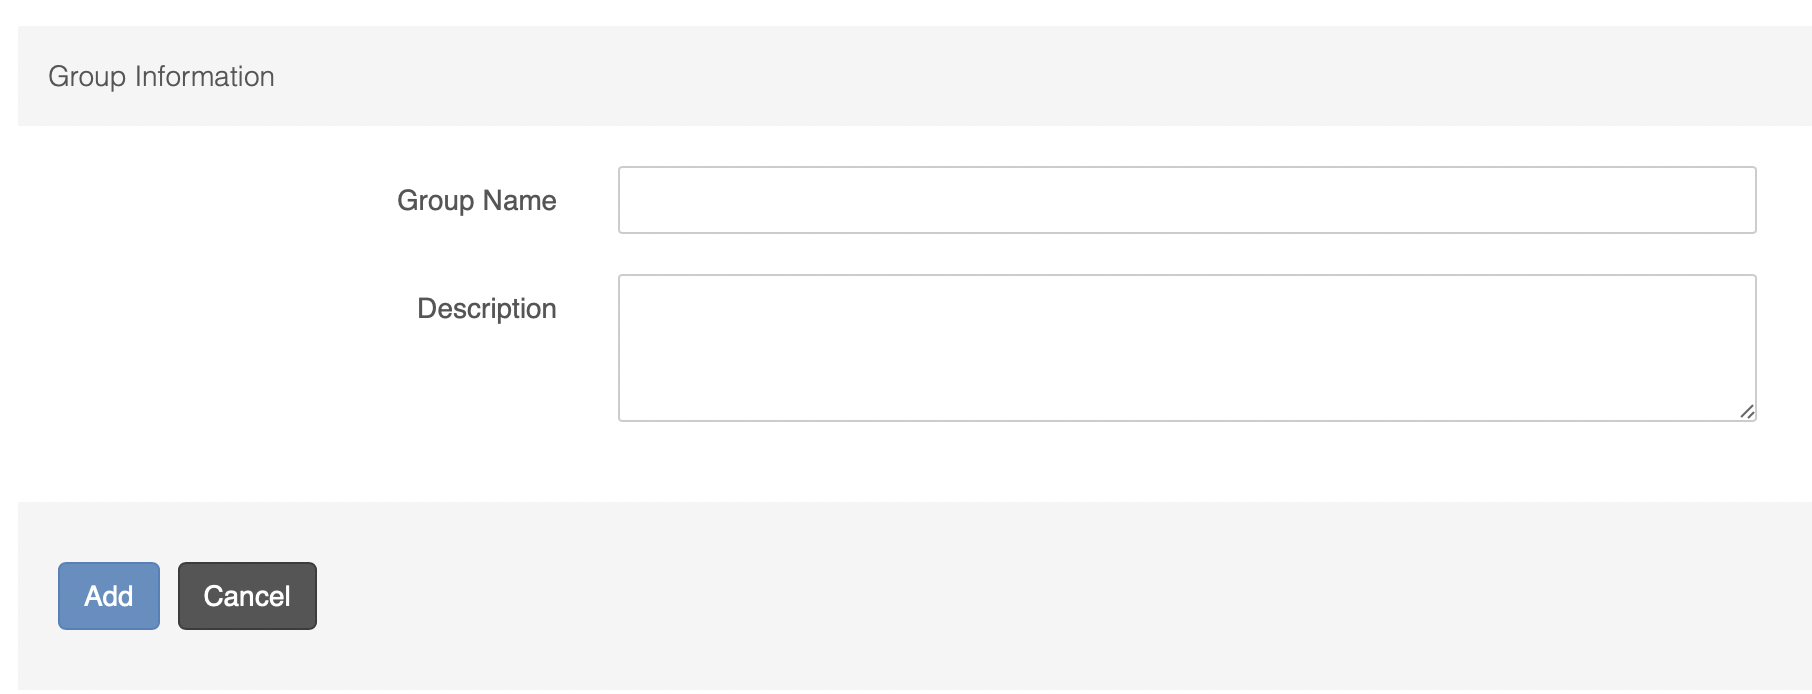
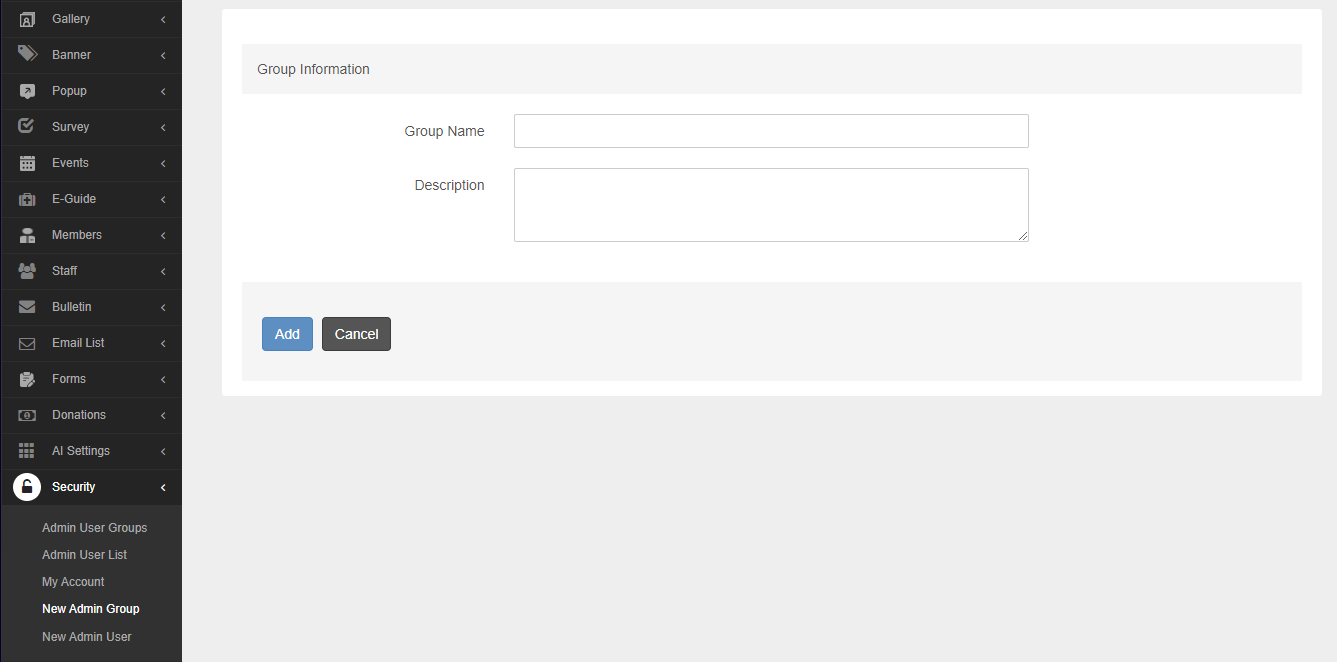
Click on the "Security” link, then select the “New Admin Group” link.
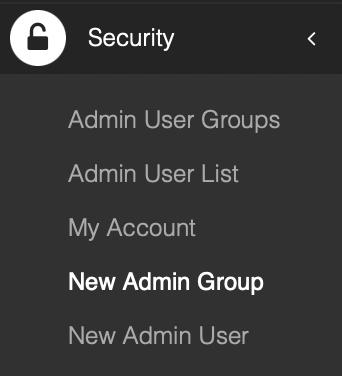
-
Add a new group by entering the group name and description.
Adding a New User
-
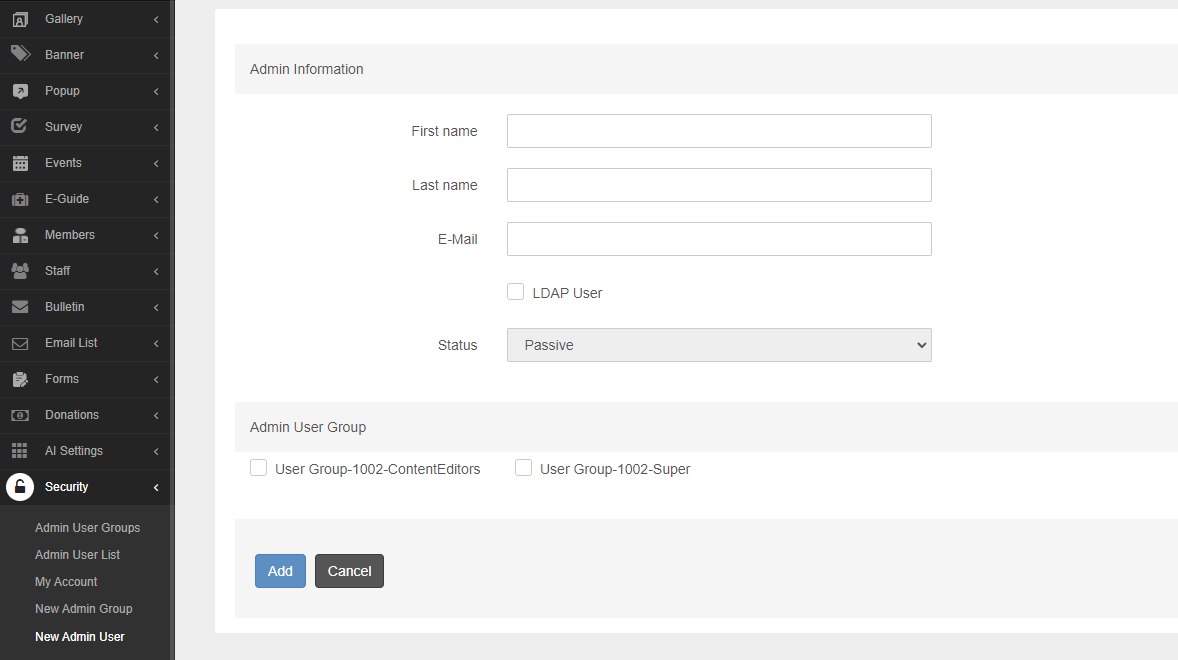
Click on the "Security” link, then choose the “New Admin User” link.
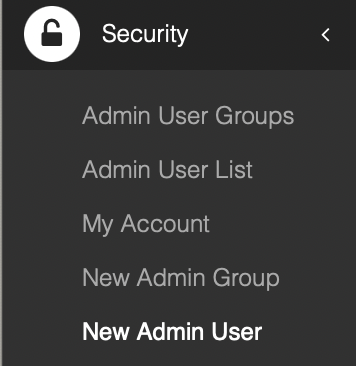
-
Add a new user by entering their first name, last name, email, password, status, and assigning them to an administration group.
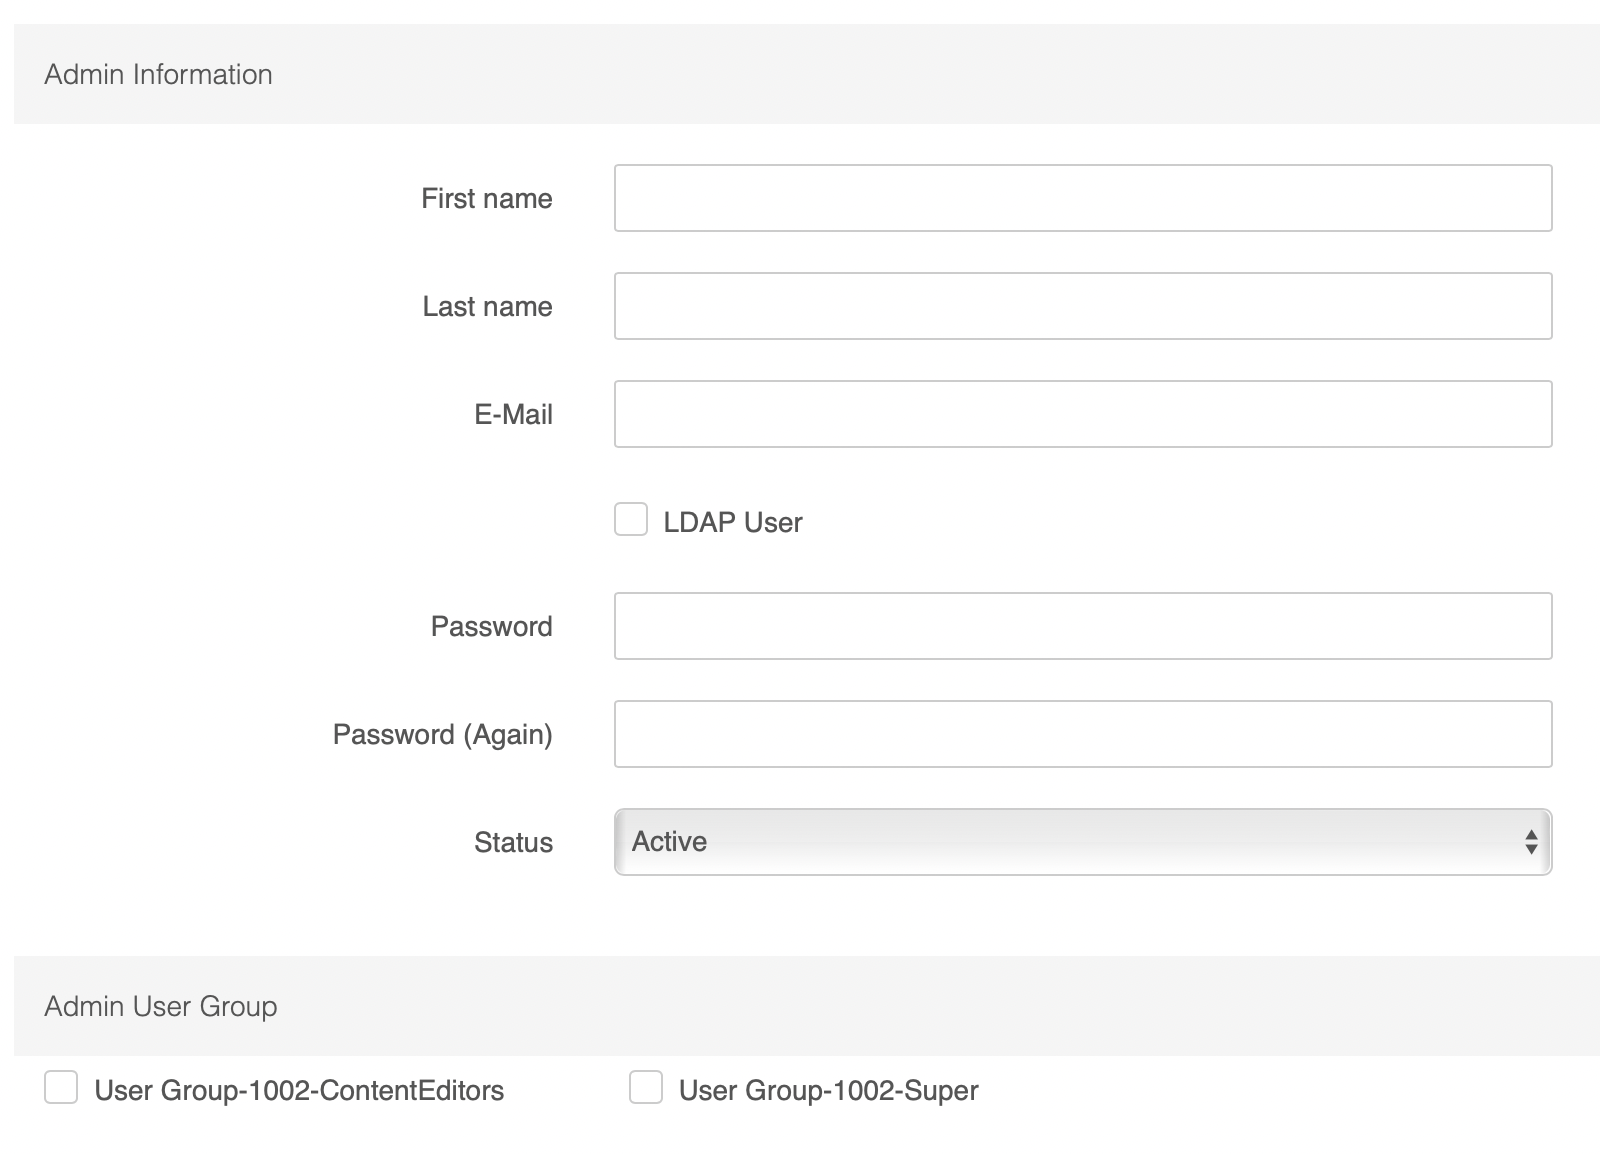
-
Carefully select the appropriate "User Group" for the new user, especially limiting access to the “super user group” as much as possible.
Deleting a User
-
Click on the "Security” link, then go to the “User List” link.
-
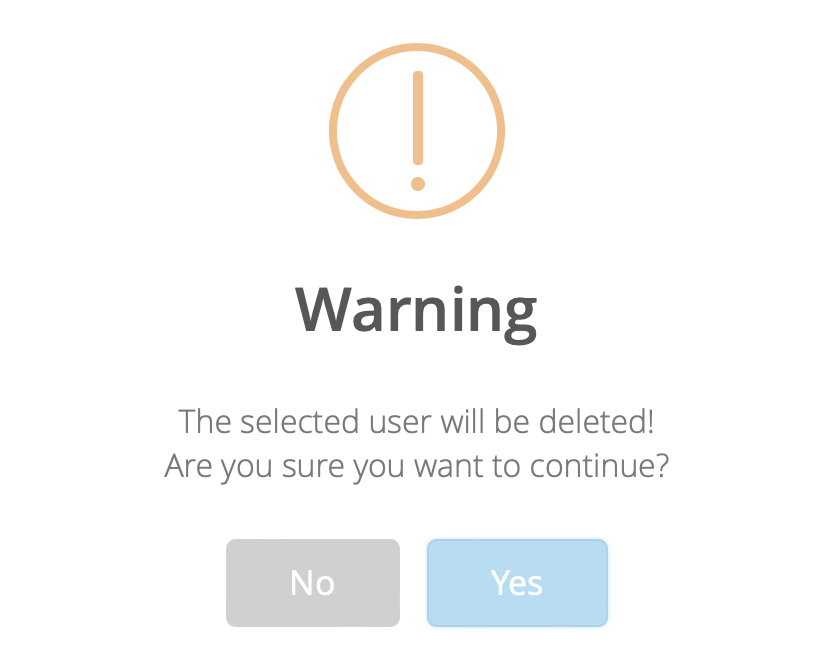
Select the user to delete by checking the box next to their name.
-
Click on the “Delete” button and confirm deletion by selecting “Yes” when prompted.
User Group
- Login to the Koolay Console with your credentials.
- Access the left-side toolbar.
- Select “New Admin Group” from the “Securty” link options.
- The Security module is where users who use or will use the system are defined, updated, and authorized.
- Before defining users:
- Define the user groups that the relevant users will commonly use.
- Defining user groups first ensures a more organized and efficient user management process.
Admin User Group
- Login to the Koolay Console with your credentials.
- Access the left-side toolbar.
- Select “Admin User Group” from the “Securty” link options.
- When your account is initially set up, two System user groups are automatically created:
- "Super User Group": Has access to all modules and categories.
- "Content Editors Group": Has access to content, categories, banners, and changing their own passwords.
- These groups are designed to provide different levels of access based on user roles and responsibilities.
File Manager Categories
- Login to the Koolay Console with your credentials.
- Access the left-side toolbar.
- Select “Admin User Group” from the “Securty” link options.
- You can create new authorization groups according to your site's structure from the "New Group" menu.
- When defining a new group, you need to specify:
- Which modules the group will use.
- Which "content categories" the group will see.
- Which "file manager categories" the group will access.
- This allows you to customize access and permissions based on the specific needs and roles within your organization.
User List
- Login to the Koolay Console with your credentials.
- Access the left-side toolbar.
- Select “New Admin User ” from the “Securty” link options.
- When your account is first created:
- The user [email protected] is added as a super system user for quick support.
- The email address you used when you first registered is also added as a super system user.
- To add a new user:
- Use the "New User" menu.
- Set a password for the new user.
- It is important to specify which "User Group" or groups the new user will belong to.
- Avoid sharing super user group privileges with anyone other than yourself.
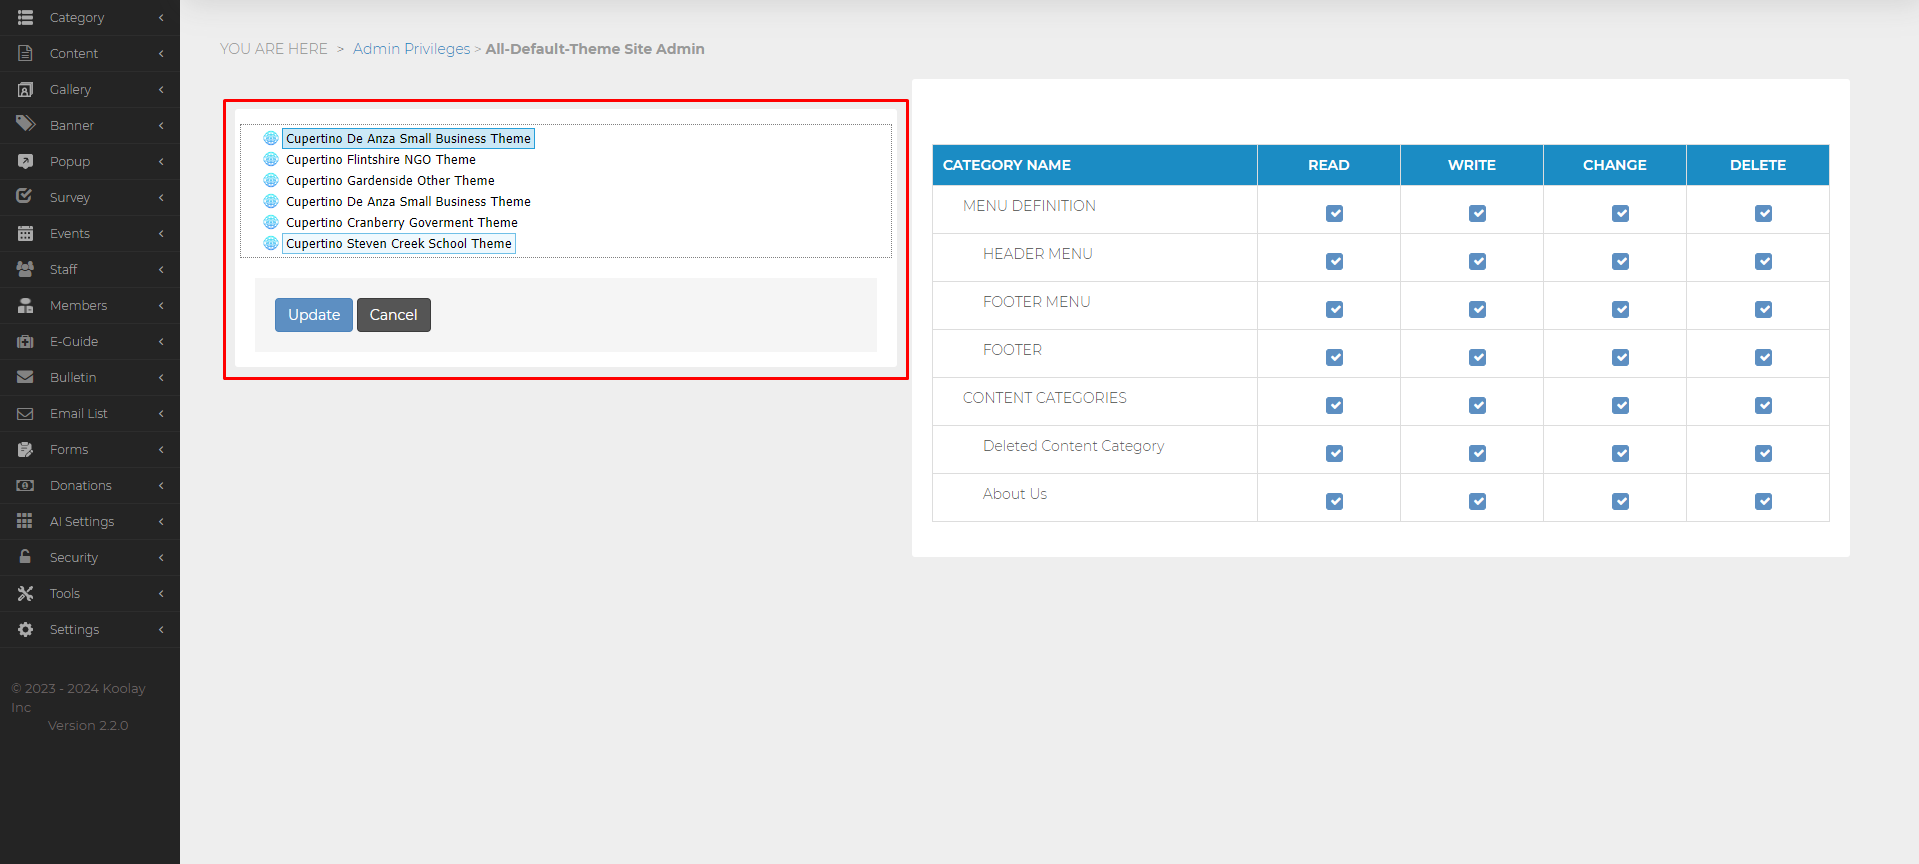
Category Acces
- Login to the Koolay Console with your credentials.
- Access the left-side toolbar.
- Select “Admin User Group” from the “Securty” link options.
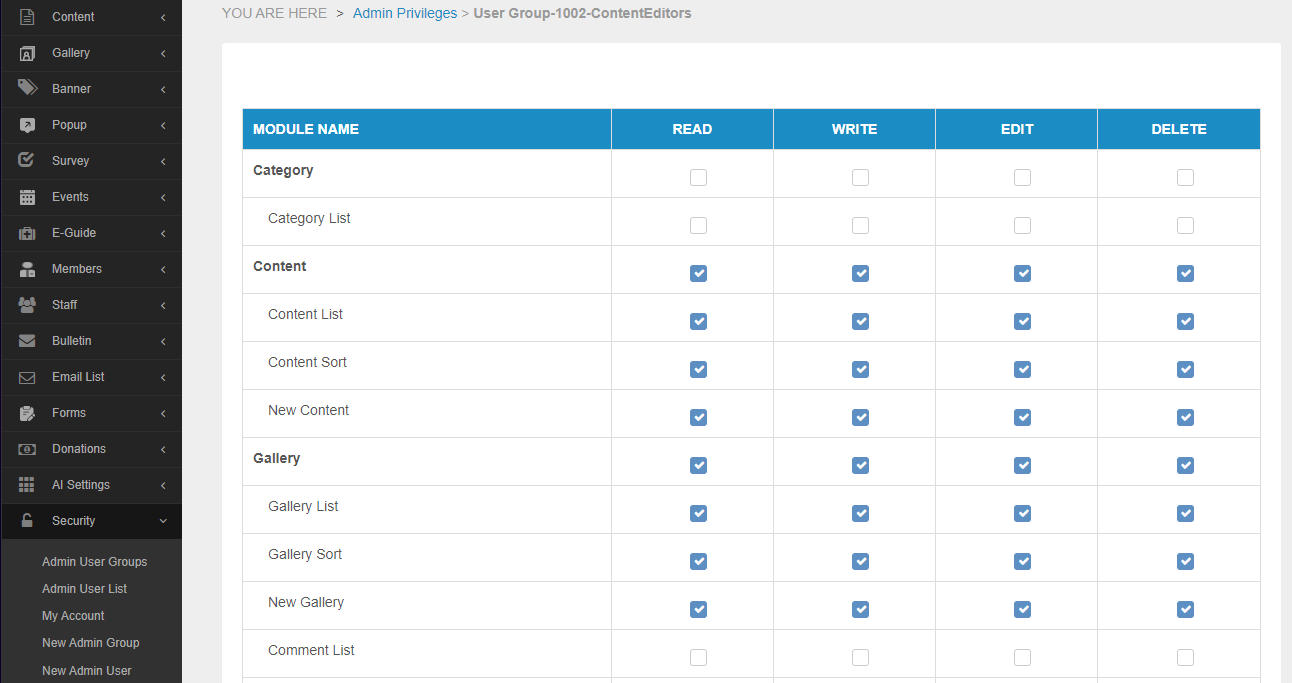
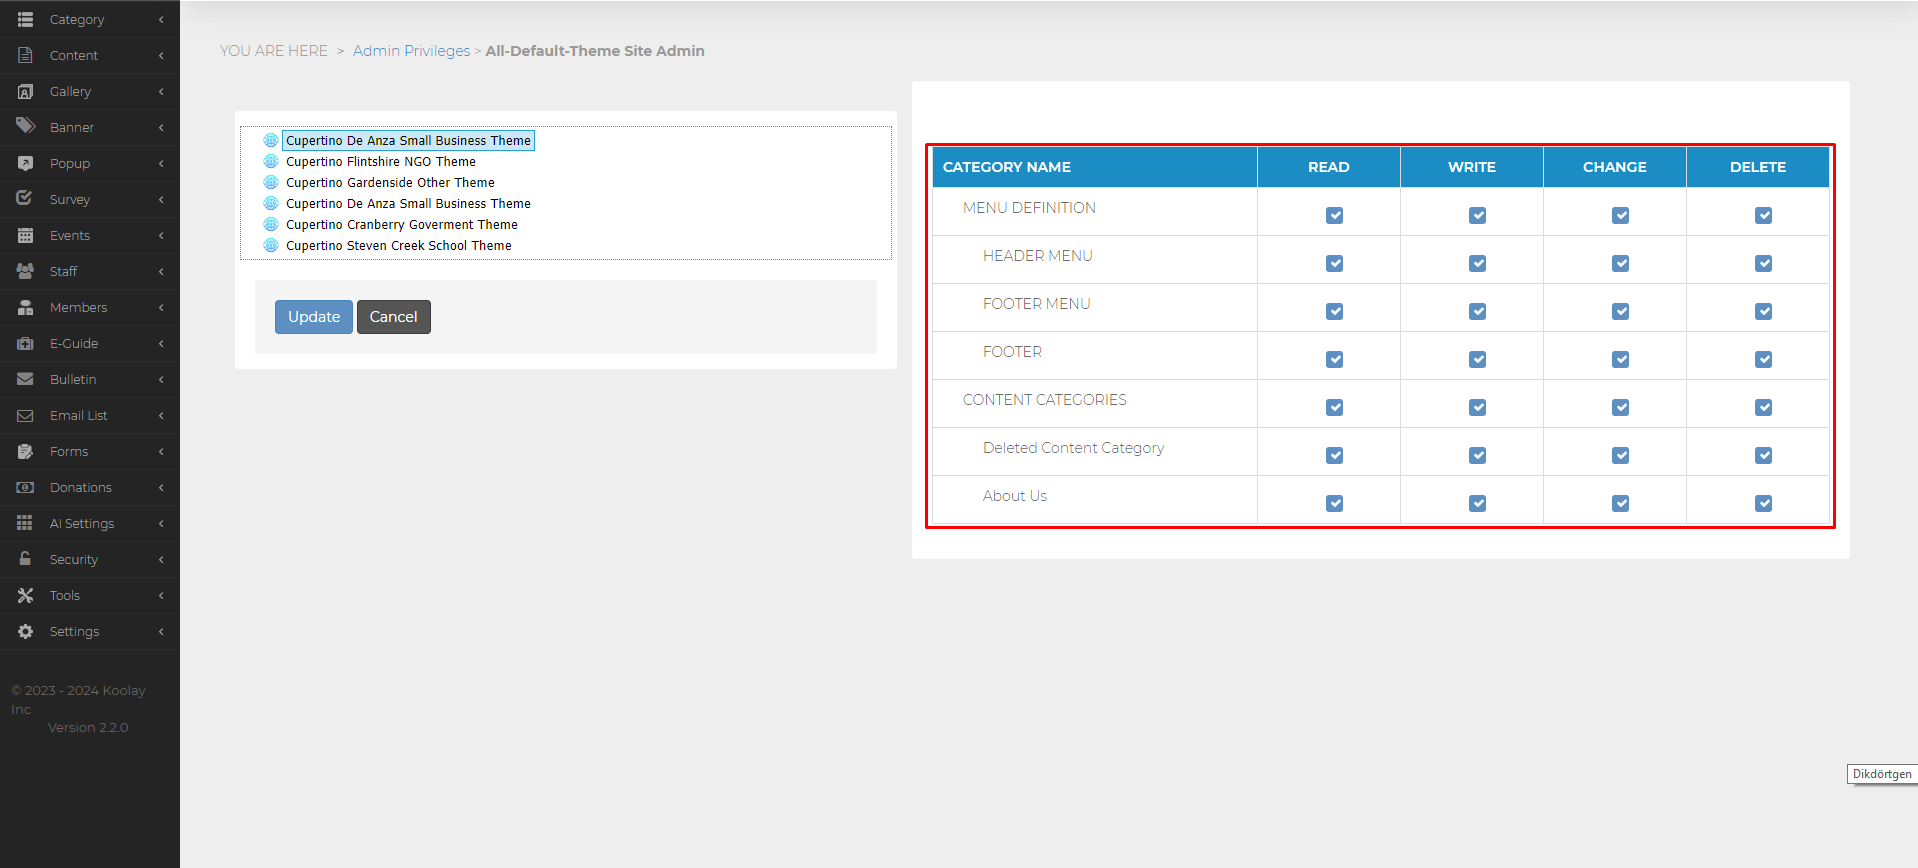
- Press the "Change" button in the "Category Acces" column to set the category acces of the group.

5-This allows you to customize access and permissions based on the specific needs and roles within your organization.
Module Acces
- Login to the Koolay Console with your credentials.
- Access the left-side toolbar.
- Select “Admin User Group” from the “Securty” link options.
- Press the "Change" button in the "Module Acces" column to set the category acces of the group.

5-This allows you to customize access and permissions based on the specific needs and roles within your organization.
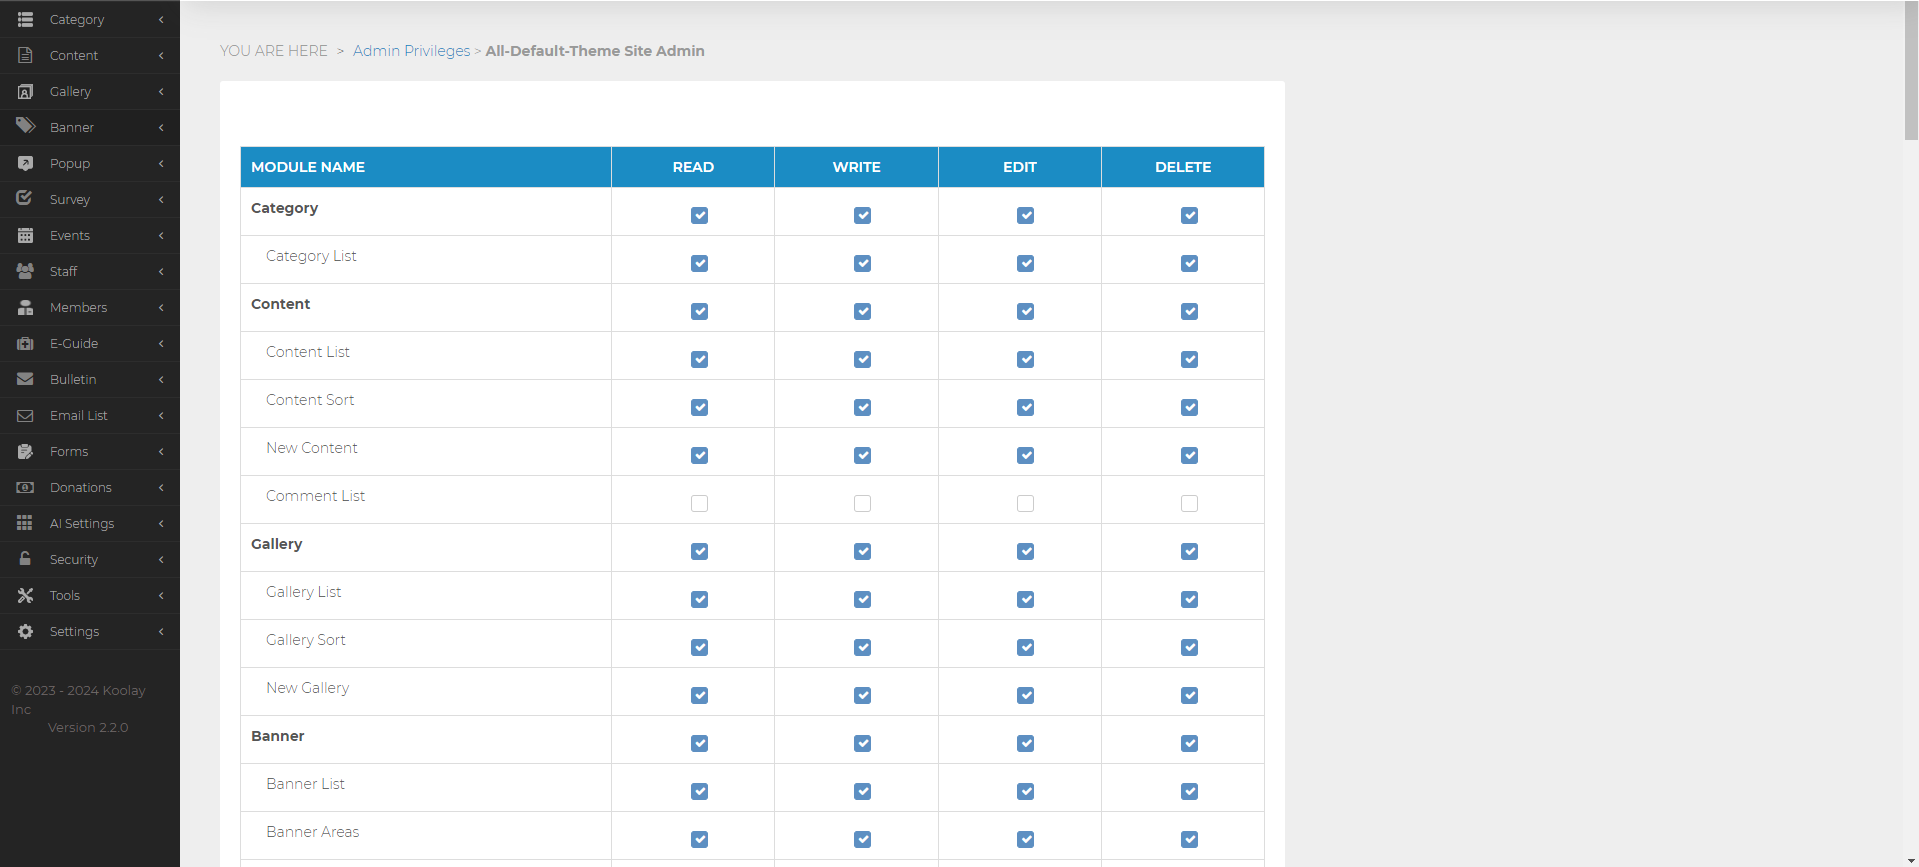
-If the plan you have has a "centralized multi-site" feature, you can make changes to multiple sites.
Last updated on 2024-04-13 04:32:28Z by Koolay