[{"CategoryType":0,"ParentID":6697,"Id":6698,"Name":"Main Documentation","FriendlyName":"main-documentation","Level":0,"Children":4,"Link":null,"Destination":null,"PostFile":null},{"CategoryType":0,"ParentID":6698,"Id":6701,"Name":"Getting Started","FriendlyName":"getting-started","Level":1,"Children":2,"Link":null,"Destination":null,"PostFile":null},{"CategoryType":0,"ParentID":6701,"Id":6705,"Name":"About Koolay","FriendlyName":"about-koolay","Level":2,"Children":0,"Link":null,"Destination":null,"PostFile":null},{"CategoryType":0,"ParentID":6701,"Id":6706,"Name":"Koolay Subscriptions","FriendlyName":"koolay-subscriptions","Level":2,"Children":0,"Link":null,"Destination":null,"PostFile":null},{"CategoryType":0,"ParentID":6698,"Id":23536,"Name":"New User Onboarding Guide","FriendlyName":"new-user-onboarding-guide","Level":1,"Children":0,"Link":null,"Destination":null,"PostFile":null},{"CategoryType":0,"ParentID":6698,"Id":6886,"Name":"How to manage Modules","FriendlyName":"how-to-manage-modules","Level":1,"Children":22,"Link":null,"Destination":null,"PostFile":null},{"CategoryType":0,"ParentID":6886,"Id":24439,"Name":"Account Module","FriendlyName":"account-module","Level":2,"Children":0,"Link":null,"Destination":null,"PostFile":null},{"CategoryType":0,"ParentID":6886,"Id":6889,"Name":"Category Module","FriendlyName":"category-module","Level":2,"Children":0,"Link":null,"Destination":null,"PostFile":null},{"CategoryType":0,"ParentID":6886,"Id":6888,"Name":"Content Module","FriendlyName":"content-module","Level":2,"Children":0,"Link":null,"Destination":null,"PostFile":null},{"CategoryType":0,"ParentID":6886,"Id":6893,"Name":"Gallery Module","FriendlyName":"gallery-module","Level":2,"Children":0,"Link":null,"Destination":null,"PostFile":null},{"CategoryType":0,"ParentID":6886,"Id":6890,"Name":"Banner Module","FriendlyName":"banner-module","Level":2,"Children":0,"Link":null,"Destination":null,"PostFile":null},{"CategoryType":0,"ParentID":6886,"Id":6894,"Name":"Popup Module","FriendlyName":"popup-module","Level":2,"Children":0,"Link":null,"Destination":null,"PostFile":null},{"CategoryType":0,"ParentID":6886,"Id":6895,"Name":"Survey Module","FriendlyName":"survey-module","Level":2,"Children":0,"Link":null,"Destination":null,"PostFile":null},{"CategoryType":0,"ParentID":6886,"Id":6896,"Name":"Events Module","FriendlyName":"events-module","Level":2,"Children":0,"Link":null,"Destination":null,"PostFile":null},{"CategoryType":0,"ParentID":6886,"Id":6897,"Name":"Members Module","FriendlyName":"members-module","Level":2,"Children":0,"Link":null,"Destination":null,"PostFile":null},{"CategoryType":0,"ParentID":6886,"Id":44524,"Name":"E-Guide Module","FriendlyName":"e-guide-module","Level":2,"Children":0,"Link":null,"Destination":null,"PostFile":null},{"CategoryType":0,"ParentID":6886,"Id":6898,"Name":"Staff Module","FriendlyName":"staff-module","Level":2,"Children":0,"Link":null,"Destination":null,"PostFile":null},{"CategoryType":0,"ParentID":6886,"Id":6899,"Name":"Bulletin Module","FriendlyName":"bulletin-module","Level":2,"Children":0,"Link":null,"Destination":null,"PostFile":null},{"CategoryType":0,"ParentID":6886,"Id":6900,"Name":"Email List Module","FriendlyName":"email-list-module","Level":2,"Children":0,"Link":null,"Destination":null,"PostFile":null},{"CategoryType":0,"ParentID":6886,"Id":6901,"Name":"Forms Module","FriendlyName":"forms-module","Level":2,"Children":3,"Link":null,"Destination":null,"PostFile":null},{"CategoryType":0,"ParentID":6901,"Id":24969,"Name":"Beginning","FriendlyName":"beginning","Level":3,"Children":0,"Link":null,"Destination":null,"PostFile":null},{"CategoryType":0,"ParentID":6901,"Id":24820,"Name":"Forms","FriendlyName":"forms","Level":3,"Children":0,"Link":null,"Destination":null,"PostFile":null},{"CategoryType":0,"ParentID":6901,"Id":24821,"Name":"Applications","FriendlyName":"applications","Level":3,"Children":0,"Link":null,"Destination":null,"PostFile":null},{"CategoryType":0,"ParentID":6886,"Id":6902,"Name":"AI Settings Module","FriendlyName":"ai-settings-module","Level":2,"Children":0,"Link":null,"Destination":null,"PostFile":null},{"CategoryType":0,"ParentID":6886,"Id":6903,"Name":"Security Module","FriendlyName":"security-module","Level":2,"Children":0,"Link":null,"Destination":null,"PostFile":null},{"CategoryType":0,"ParentID":6886,"Id":6904,"Name":"Tools Module","FriendlyName":"tools-module","Level":2,"Children":3,"Link":null,"Destination":null,"PostFile":null},{"CategoryType":0,"ParentID":6904,"Id":14431,"Name":"Image Editor","FriendlyName":"image-editor","Level":3,"Children":0,"Link":null,"Destination":null,"PostFile":null},{"CategoryType":0,"ParentID":6904,"Id":14432,"Name":"Code Editor","FriendlyName":"code-editor","Level":3,"Children":0,"Link":null,"Destination":null,"PostFile":null},{"CategoryType":0,"ParentID":6904,"Id":14433,"Name":"File Manager","FriendlyName":"file-manager","Level":3,"Children":0,"Link":null,"Destination":null,"PostFile":null},{"CategoryType":0,"ParentID":6886,"Id":6905,"Name":"Settings Module","FriendlyName":"settings-module","Level":2,"Children":7,"Link":null,"Destination":null,"PostFile":null},{"CategoryType":0,"ParentID":6905,"Id":25415,"Name":"Beginning","FriendlyName":"beginning","Level":3,"Children":0,"Link":null,"Destination":null,"PostFile":null},{"CategoryType":0,"ParentID":6905,"Id":25416,"Name":"Site Configurations","FriendlyName":"site-configurations","Level":3,"Children":0,"Link":null,"Destination":null,"PostFile":null},{"CategoryType":0,"ParentID":6905,"Id":25417,"Name":"System Settings","FriendlyName":"system-settings","Level":3,"Children":0,"Link":null,"Destination":null,"PostFile":null},{"CategoryType":0,"ParentID":6905,"Id":25418,"Name":"Event Log","FriendlyName":"event-log","Level":3,"Children":0,"Link":null,"Destination":null,"PostFile":null},{"CategoryType":0,"ParentID":6905,"Id":25419,"Name":"HomePage Settings","FriendlyName":"homepage-settings","Level":3,"Children":0,"Link":null,"Destination":null,"PostFile":null},{"CategoryType":0,"ParentID":6905,"Id":25420,"Name":"Customer Language","FriendlyName":"customer-language","Level":3,"Children":0,"Link":null,"Destination":null,"PostFile":null},{"CategoryType":0,"ParentID":6905,"Id":25422,"Name":"Site Constants","FriendlyName":"site-constants","Level":3,"Children":0,"Link":null,"Destination":null,"PostFile":null},{"CategoryType":0,"ParentID":6886,"Id":31648,"Name":"Community Module","FriendlyName":"community-module","Level":2,"Children":0,"Link":null,"Destination":null,"PostFile":null},{"CategoryType":0,"ParentID":6886,"Id":28629,"Name":"Feature Track Module","FriendlyName":"feature-track-module","Level":2,"Children":0,"Link":null,"Destination":null,"PostFile":null},{"CategoryType":0,"ParentID":6886,"Id":31647,"Name":"Blog Module","FriendlyName":"blog-module","Level":2,"Children":0,"Link":null,"Destination":null,"PostFile":null},{"CategoryType":0,"ParentID":6886,"Id":35746,"Name":"Social Media Posting Module","FriendlyName":"social-media-posting-module","Level":2,"Children":0,"Link":null,"Destination":null,"PostFile":null},{"CategoryType":0,"ParentID":6698,"Id":6891,"Name":"Questions \u0026amp; Answers","FriendlyName":"questions-answers","Level":1,"Children":14,"Link":null,"Destination":null,"PostFile":null},{"CategoryType":0,"ParentID":6891,"Id":20480,"Name":"Koolay Console","FriendlyName":"koolay-console","Level":2,"Children":0,"Link":null,"Destination":null,"PostFile":null},{"CategoryType":0,"ParentID":6891,"Id":20481,"Name":"Category Module","FriendlyName":"category","Level":2,"Children":0,"Link":null,"Destination":null,"PostFile":null},{"CategoryType":0,"ParentID":6891,"Id":20482,"Name":"Content Module","FriendlyName":"content","Level":2,"Children":0,"Link":null,"Destination":null,"PostFile":null},{"CategoryType":0,"ParentID":6891,"Id":20483,"Name":"Gallery Module","FriendlyName":"gallery","Level":2,"Children":0,"Link":null,"Destination":null,"PostFile":null},{"CategoryType":0,"ParentID":6891,"Id":20484,"Name":"Banner Module","FriendlyName":"banner","Level":2,"Children":0,"Link":null,"Destination":null,"PostFile":null},{"CategoryType":0,"ParentID":6891,"Id":20485,"Name":"Pop-up Module","FriendlyName":"pop-up","Level":2,"Children":0,"Link":null,"Destination":null,"PostFile":null},{"CategoryType":0,"ParentID":6891,"Id":20486,"Name":"Events Module","FriendlyName":"events","Level":2,"Children":0,"Link":null,"Destination":null,"PostFile":null},{"CategoryType":0,"ParentID":6891,"Id":20487,"Name":"Staff Module","FriendlyName":"staff","Level":2,"Children":0,"Link":null,"Destination":null,"PostFile":null},{"CategoryType":0,"ParentID":6891,"Id":20488,"Name":"Members Module","FriendlyName":"members","Level":2,"Children":0,"Link":null,"Destination":null,"PostFile":null},{"CategoryType":0,"ParentID":6891,"Id":20489,"Name":"Forms Module","FriendlyName":"forms","Level":2,"Children":0,"Link":null,"Destination":null,"PostFile":null},{"CategoryType":0,"ParentID":6891,"Id":20490,"Name":"Account Module","FriendlyName":"account","Level":2,"Children":0,"Link":null,"Destination":null,"PostFile":null},{"CategoryType":0,"ParentID":6891,"Id":20491,"Name":"Security Module","FriendlyName":"security","Level":2,"Children":0,"Link":null,"Destination":null,"PostFile":null},{"CategoryType":0,"ParentID":6891,"Id":20492,"Name":"Tools Module","FriendlyName":"tools","Level":2,"Children":0,"Link":null,"Destination":null,"PostFile":null},{"CategoryType":0,"ParentID":6891,"Id":20493,"Name":"Settings Module","FriendlyName":"settings","Level":2,"Children":0,"Link":null,"Destination":null,"PostFile":null},{"CategoryType":0,"ParentID":6697,"Id":6699,"Name":"Guides","FriendlyName":"guides","Level":0,"Children":1,"Link":null,"Destination":null,"PostFile":null},{"CategoryType":0,"ParentID":6699,"Id":6703,"Name":"Guides","FriendlyName":"guides","Level":1,"Children":1,"Link":null,"Destination":null,"PostFile":null},{"CategoryType":0,"ParentID":6703,"Id":6708,"Name":"Choosing the Right Subscription Plan","FriendlyName":"choosing-the-right-subscription-plan","Level":2,"Children":0,"Link":null,"Destination":null,"PostFile":null},{"CategoryType":0,"ParentID":6697,"Id":6700,"Name":"FAQ","FriendlyName":"faq","Level":0,"Children":1,"Link":null,"Destination":null,"PostFile":null},{"CategoryType":0,"ParentID":6700,"Id":6704,"Name":"FAQ","FriendlyName":"faq","Level":1,"Children":2,"Link":null,"Destination":null,"PostFile":null},{"CategoryType":0,"ParentID":6704,"Id":6710,"Name":"GENERAL","FriendlyName":"general","Level":2,"Children":0,"Link":null,"Destination":null,"PostFile":null},{"CategoryType":0,"ParentID":6704,"Id":6711,"Name":"Licensing","FriendlyName":"licensing","Level":2,"Children":0,"Link":null,"Destination":null,"PostFile":null},{"CategoryType":0,"ParentID":6697,"Id":6793,"Name":"Support","FriendlyName":"support","Level":0,"Children":3,"Link":"https://support.koolay.com","Destination":null,"PostFile":null},{"CategoryType":0,"ParentID":6793,"Id":6794,"Name":"Professional Support","FriendlyName":"professional-support","Level":1,"Children":0,"Link":null,"Destination":null,"PostFile":null},{"CategoryType":0,"ParentID":6793,"Id":6796,"Name":"Release Notes","FriendlyName":"release-notes","Level":1,"Children":0,"Link":null,"Destination":null,"PostFile":null},{"CategoryType":0,"ParentID":6793,"Id":6795,"Name":"Sending a Feedback","FriendlyName":"sending-a-feedback","Level":1,"Children":0,"Link":null,"Destination":null,"PostFile":null},{"CategoryType":0,"ParentID":6697,"Id":6875,"Name":"Legal","FriendlyName":"legal","Level":0,"Children":3,"Link":null,"Destination":null,"PostFile":null},{"CategoryType":0,"ParentID":6875,"Id":6876,"Name":"Privacy Policy","FriendlyName":"privacy-policy","Level":1,"Children":0,"Link":null,"Destination":null,"PostFile":null},{"CategoryType":0,"ParentID":6875,"Id":6877,"Name":"Terms of Service","FriendlyName":"terms-of-service","Level":1,"Children":0,"Link":null,"Destination":null,"PostFile":null},{"CategoryType":0,"ParentID":6875,"Id":6878,"Name":"Terms of Use","FriendlyName":"terms-of-use","Level":1,"Children":0,"Link":null,"Destination":null,"PostFile":null}]
6904
Accessing the Tools Module
-
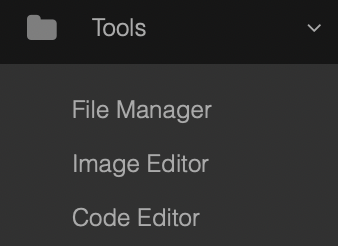
Click on the “Tools” link on the left side of your toolbar.
Using the File Manager
-
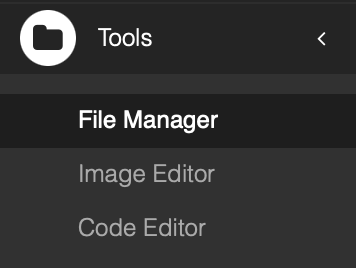
After logging into the CMS, click on the "Tools" link and select the “File Manager” link.
-
The File Manager allows you to access and select images from all modules quickly and manage them under the "Tools" module.
-
It features a robust and flexible structure for uploading new files, renaming them, and moving them to different folders.

-
Use the "AI" button within the File Manager menu to generate images based on AI prompts. Save and use these images as needed.
-
Add new folders to your directory by clicking the ‘Add’ button.

-
Change the language settings of the File Manager using the editor options.
Utilizing the Image Editor
-
Click on the "Tools" link and then select the “Image Editor” link.
-
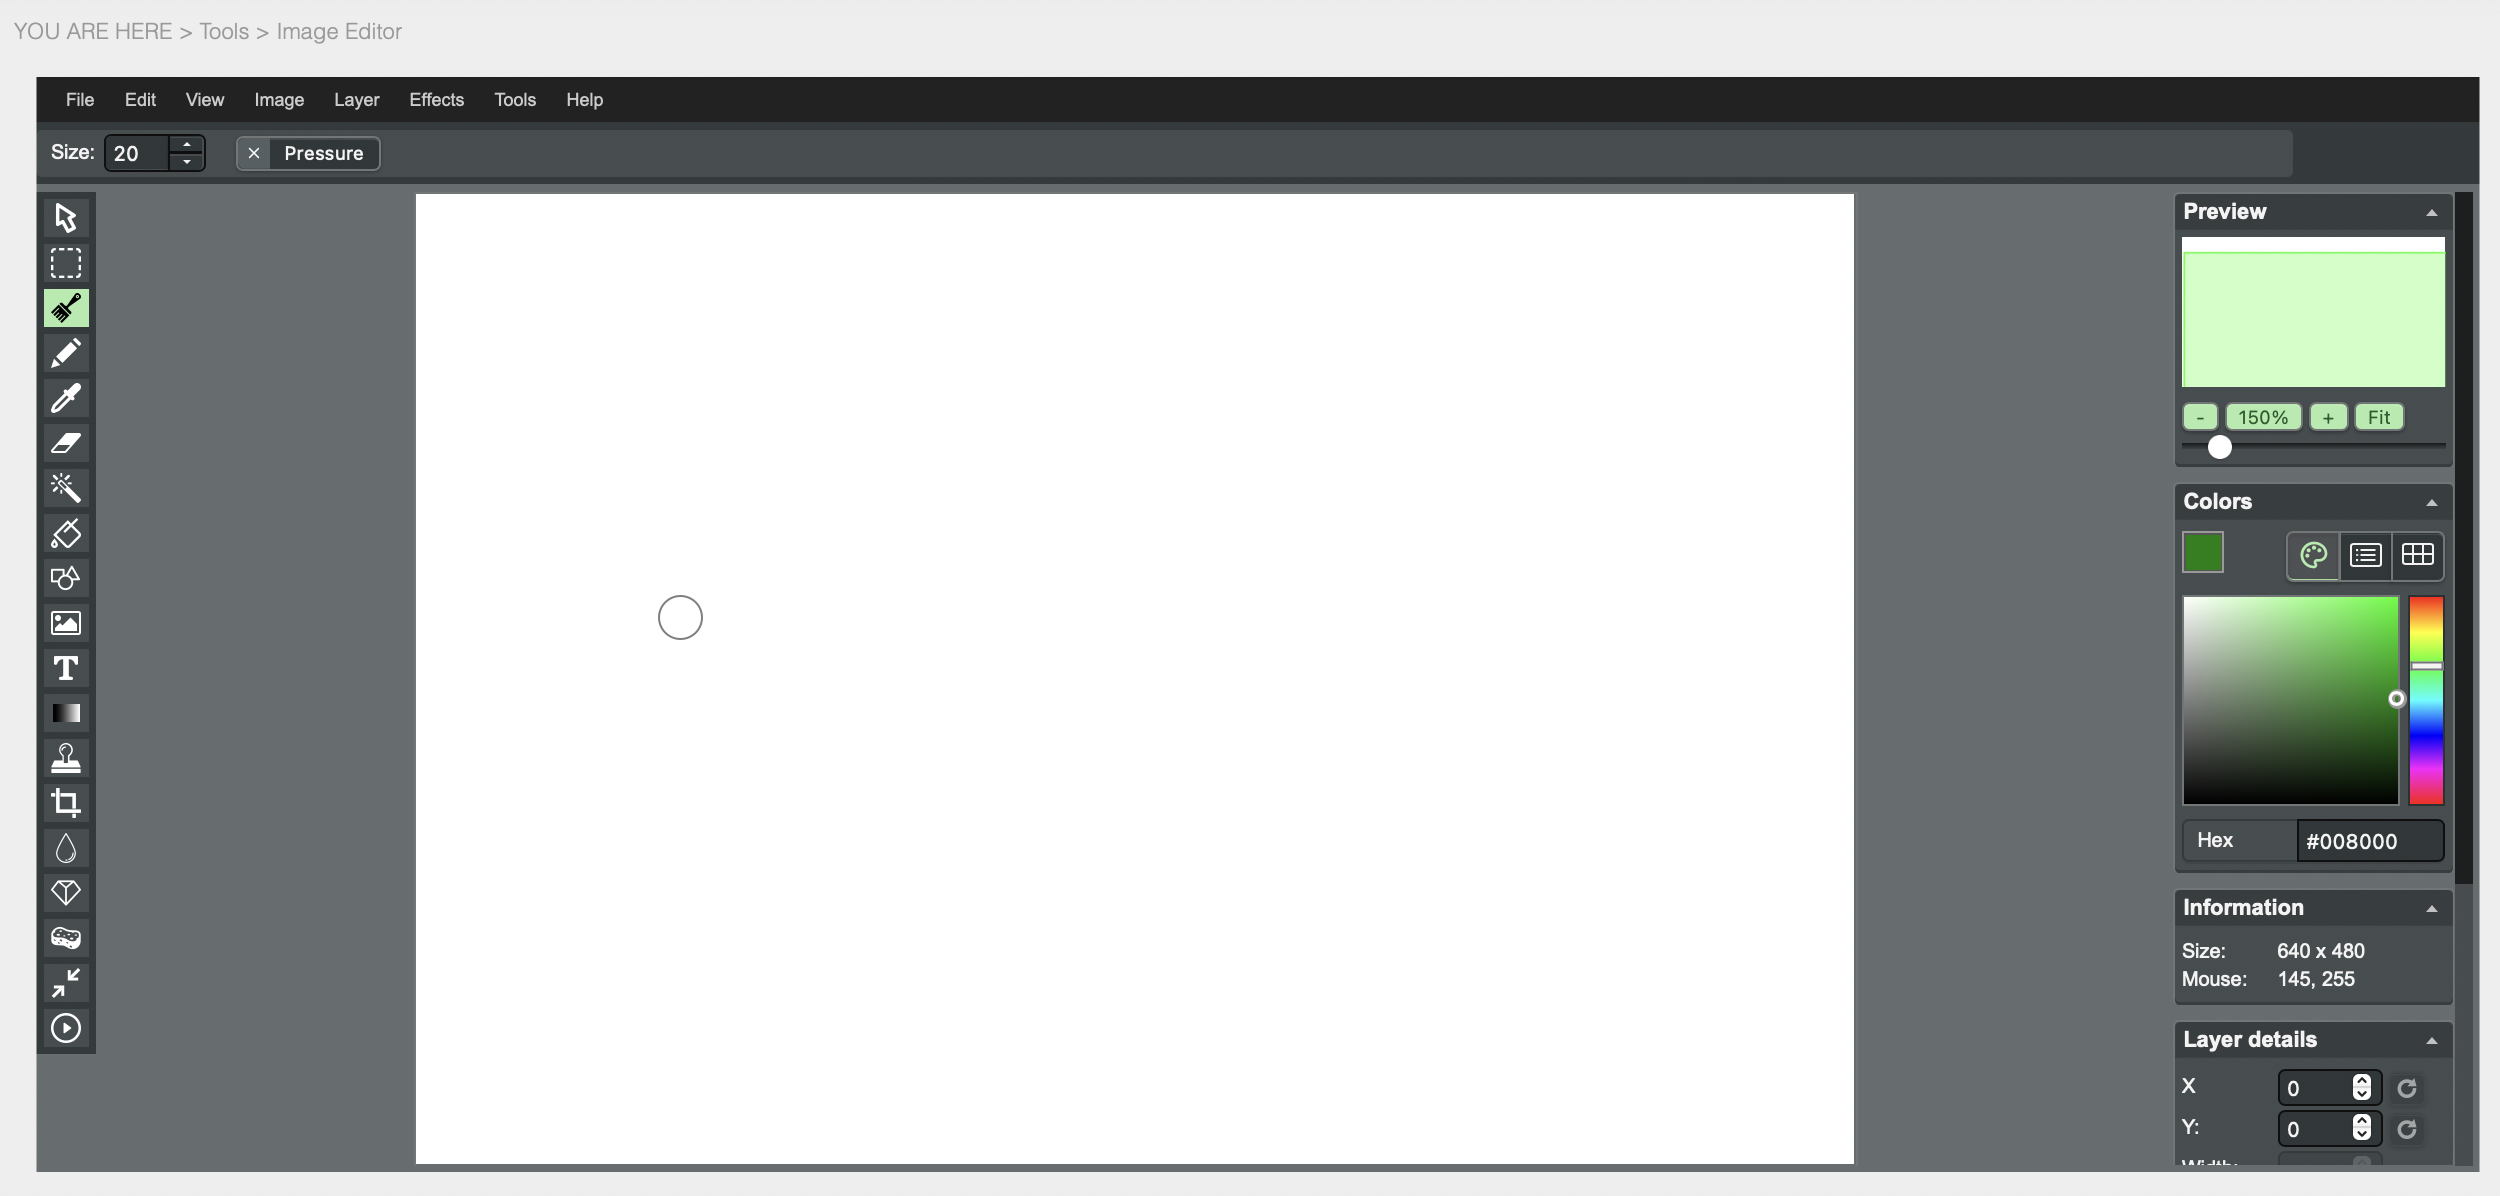
The Image Editor meets your image processing needs on the Koolay Platform and can be accessed directly under the "Tools" menu or by selecting "Edit" on any image within the "File Manager"
-
This professional tool makes it simple to create or edit images.
Working with the Code Editor
-
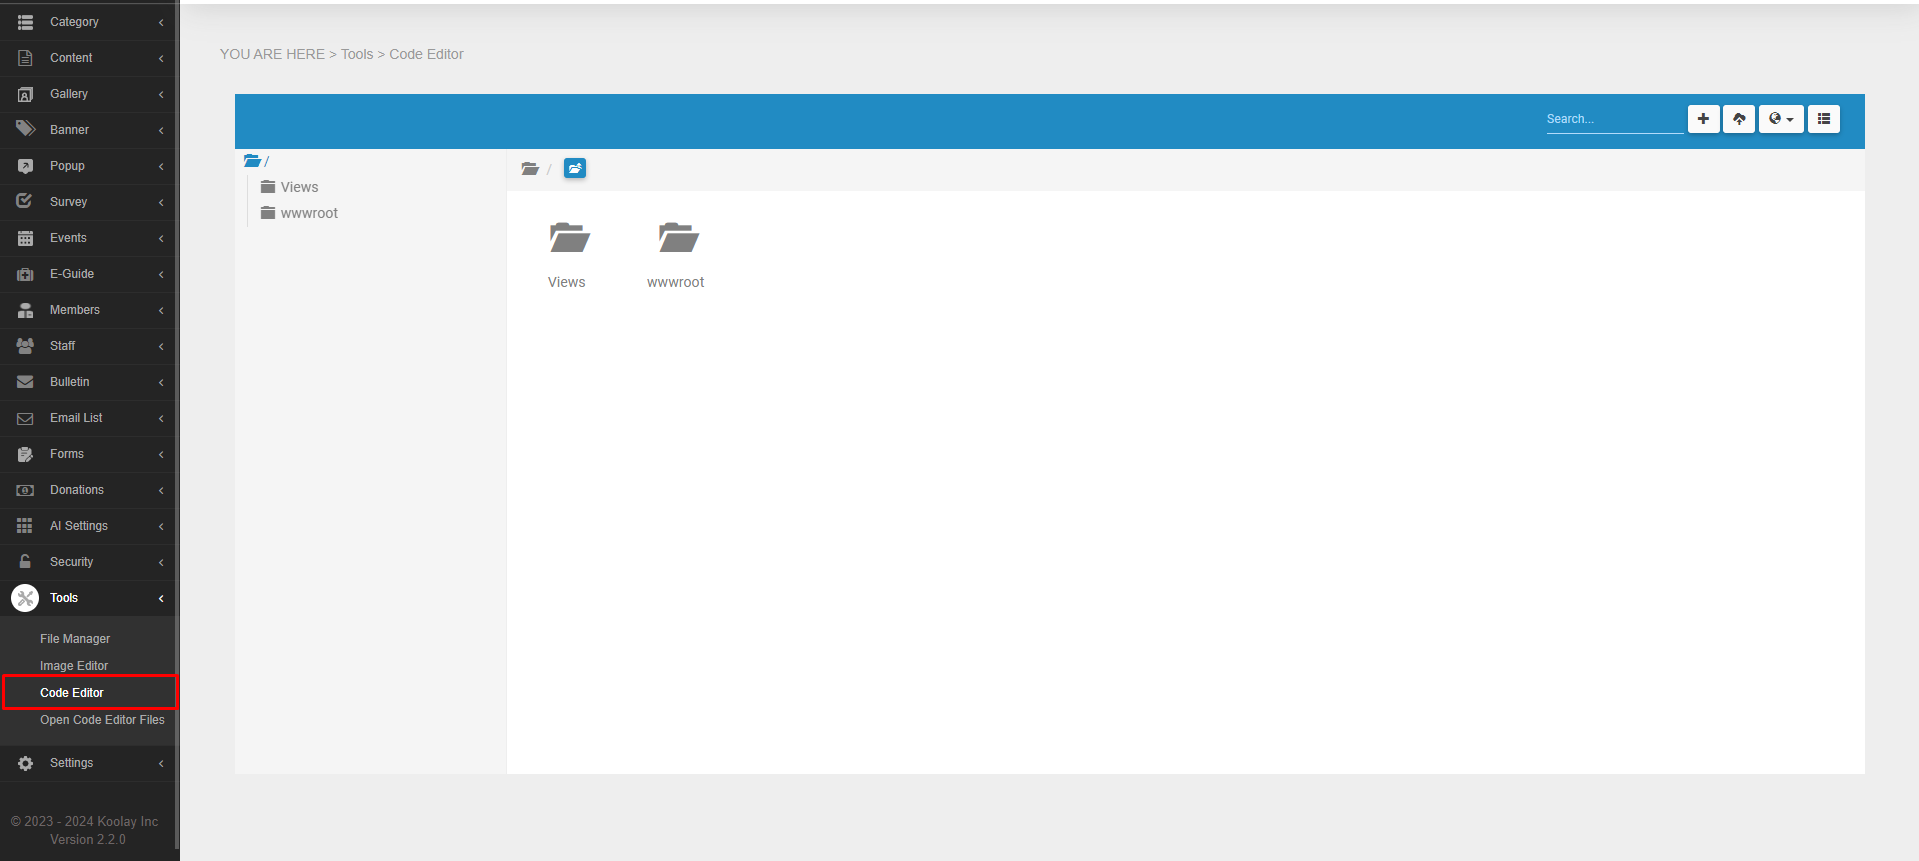
Click on the "Tools" link and then choose the “Code Editor” link.
-
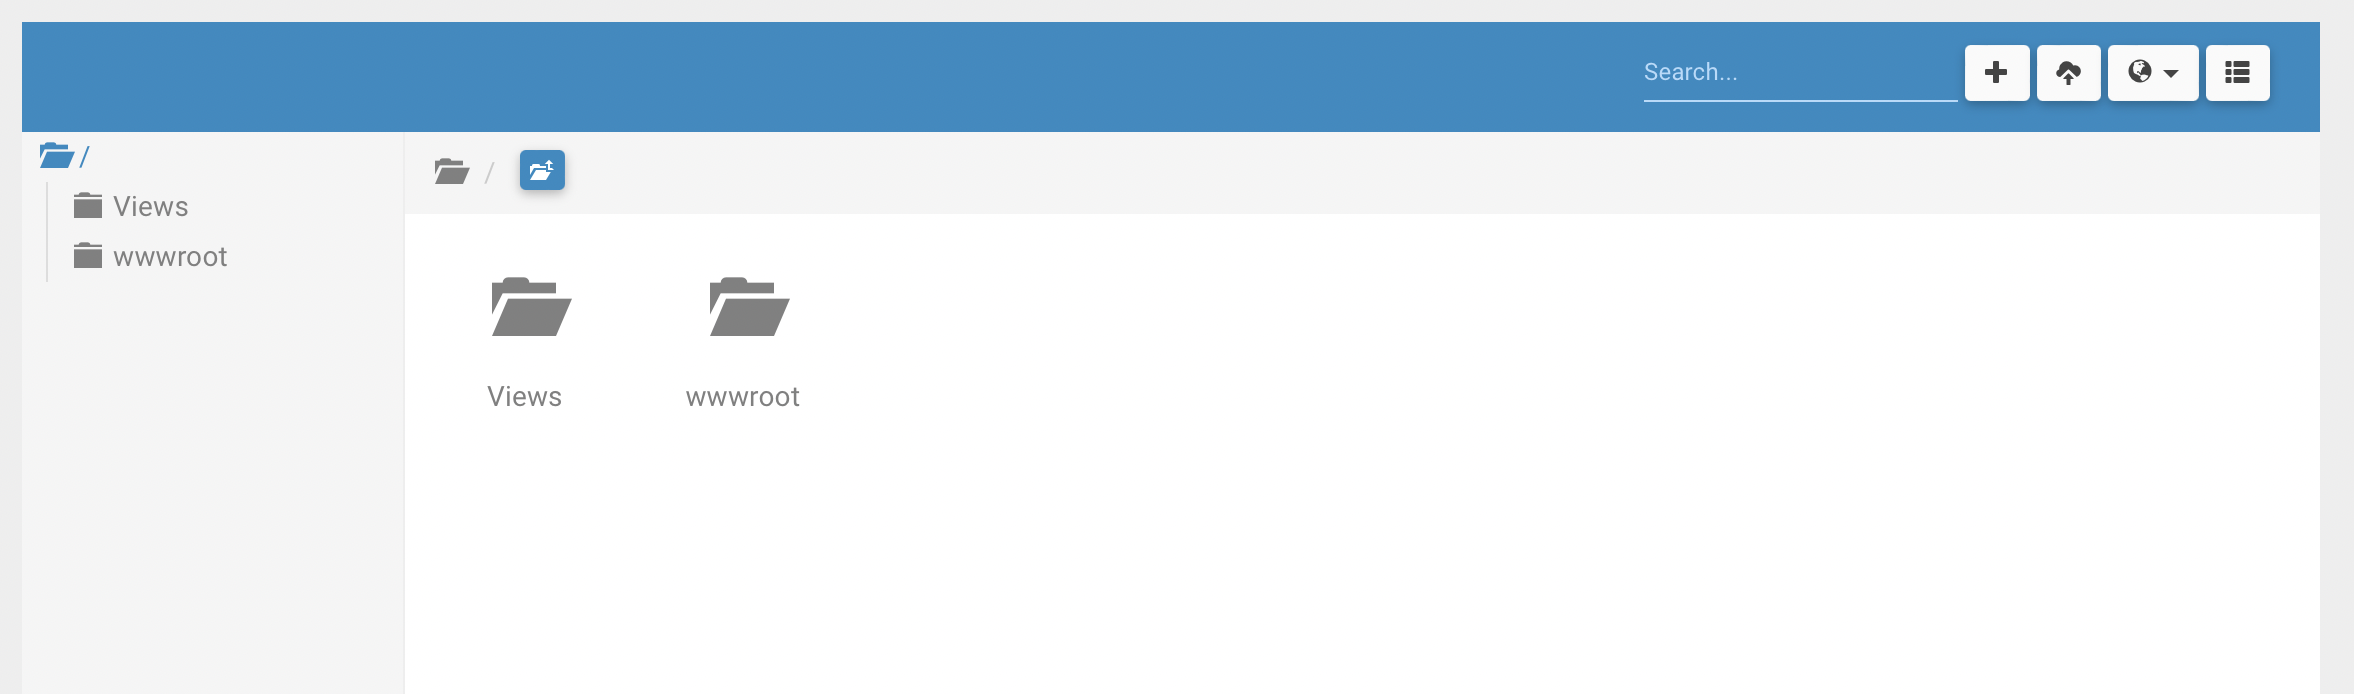
The Code Editor provides a file manager to locate and edit code files.
-
Koolay allows you to access and modify your site's front-end code—JavaScript, CSS, HTML, and liquid syntax—without the need for a developer.
-
A basic understanding of HTML and familiarity with liquid syntax programming is required to use this feature effectively. For more detailed information, visit the "developer" menu on our website.
Accessing AI Prompt From the File Manager
-
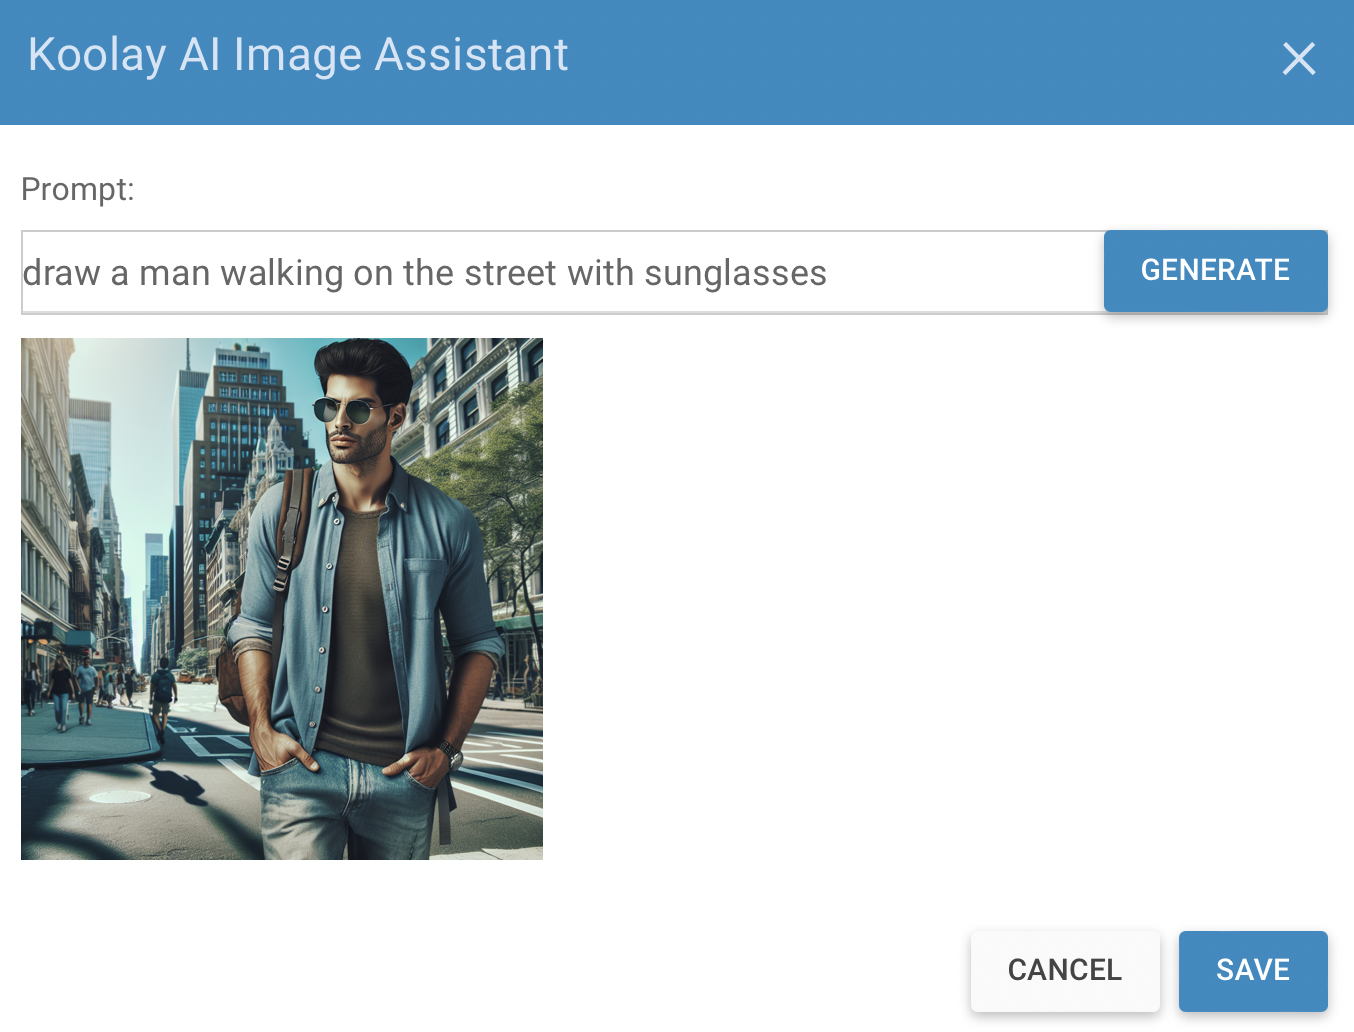
In the File Manager menu, you will find an additional button named "AI."
-
By clicking on this button, you can generate images by providing an AI prompt.
-
If you like the image generated, you can select it and save it to the File Manager.
-
Once saved, you can use the generated image anywhere you want.
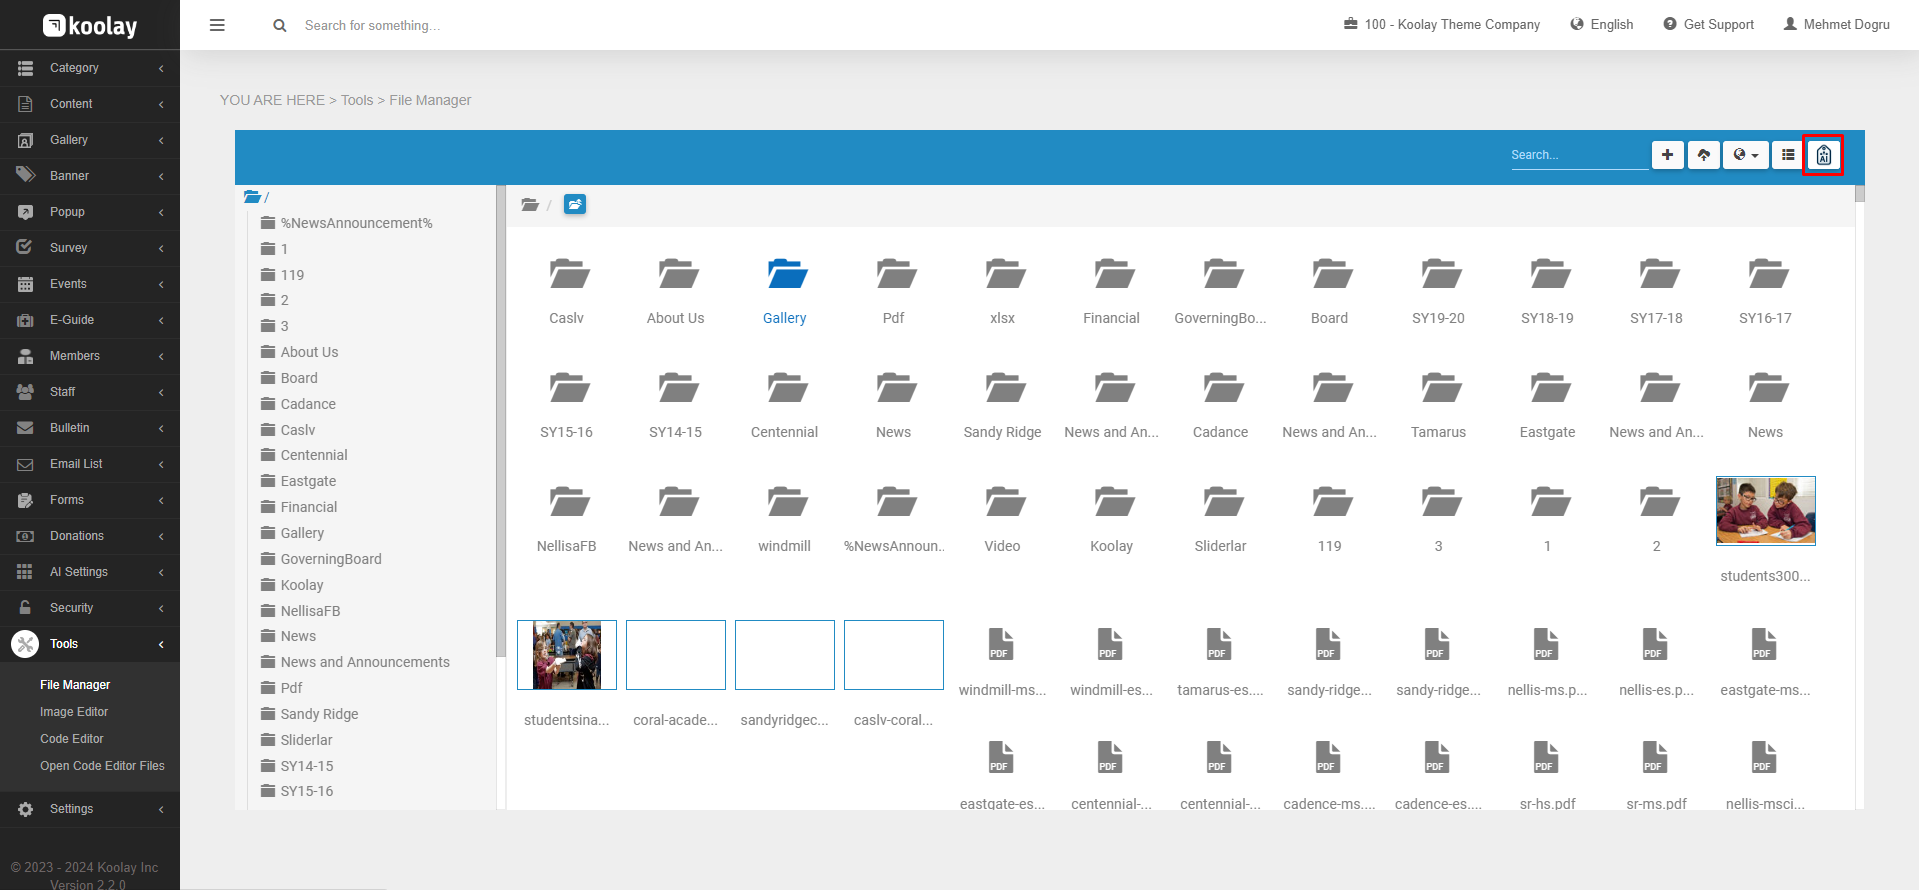
Image Editor
-
Login to the Koolay Console with your credentials.
-
Access the left-side toolbar.
-
Navigate to the "Tools" menu.
-
Locate and select the "Image Editor" option.
-
This will directly open the Image Editor interface, allowing you to begin editing your images.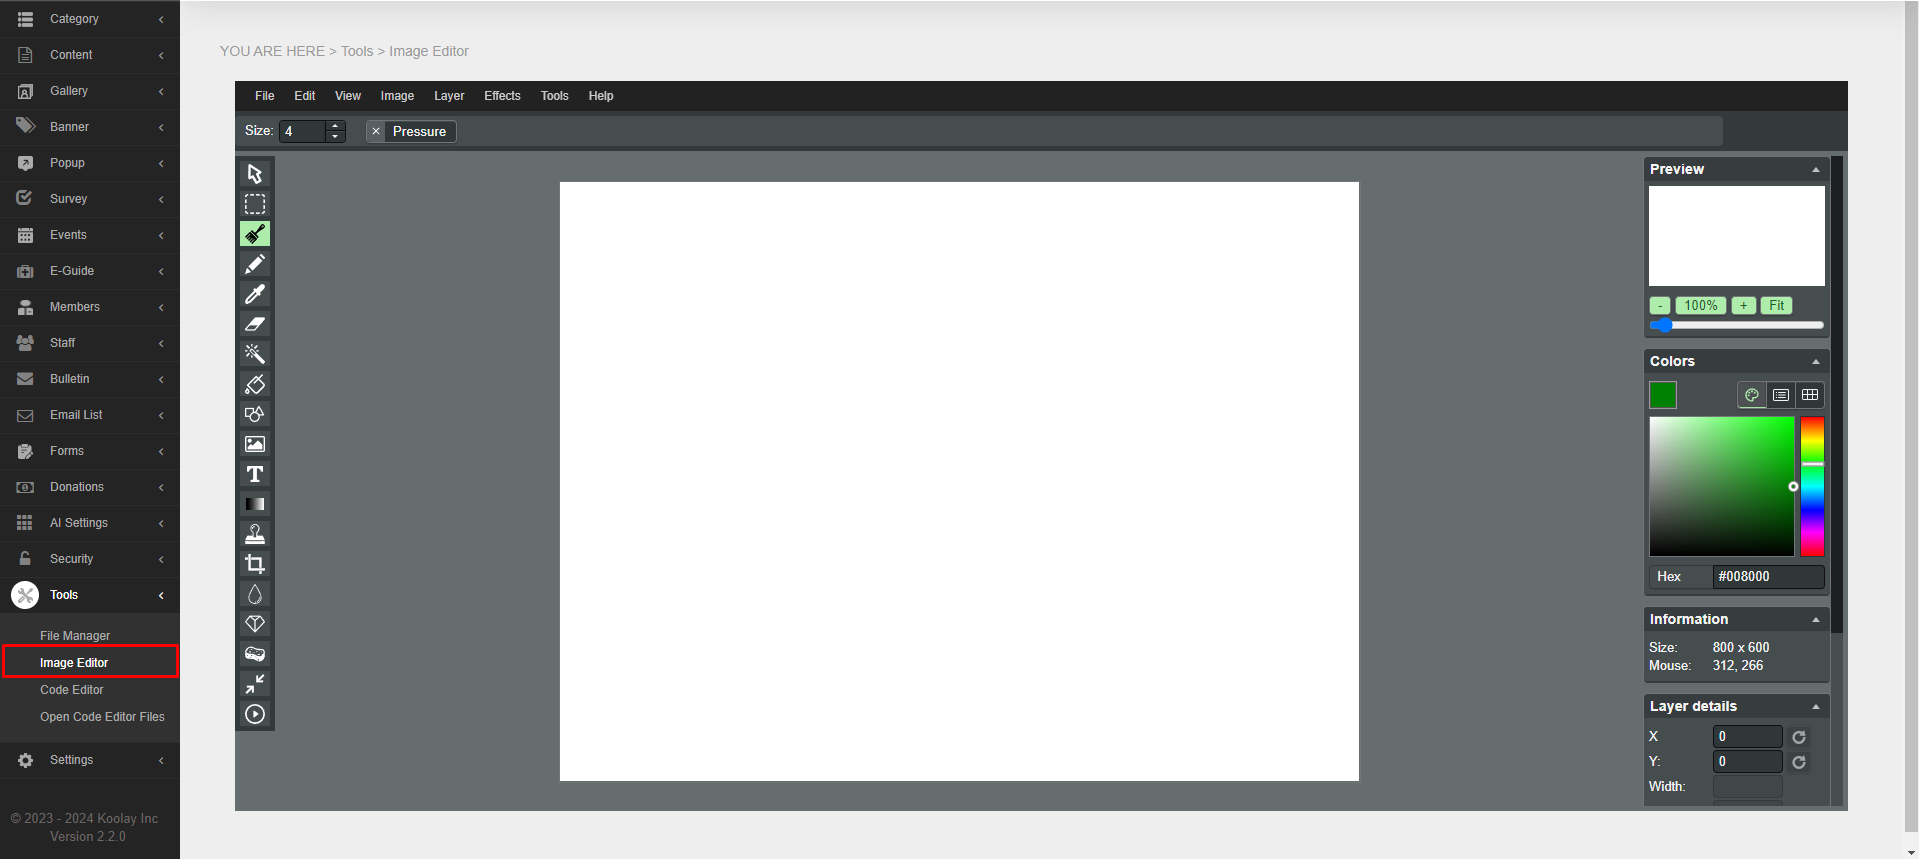
2.Through the "File Manager":
-
Login to the Koolay Console with your credentials.
-
Access the left-side toolbar.
-
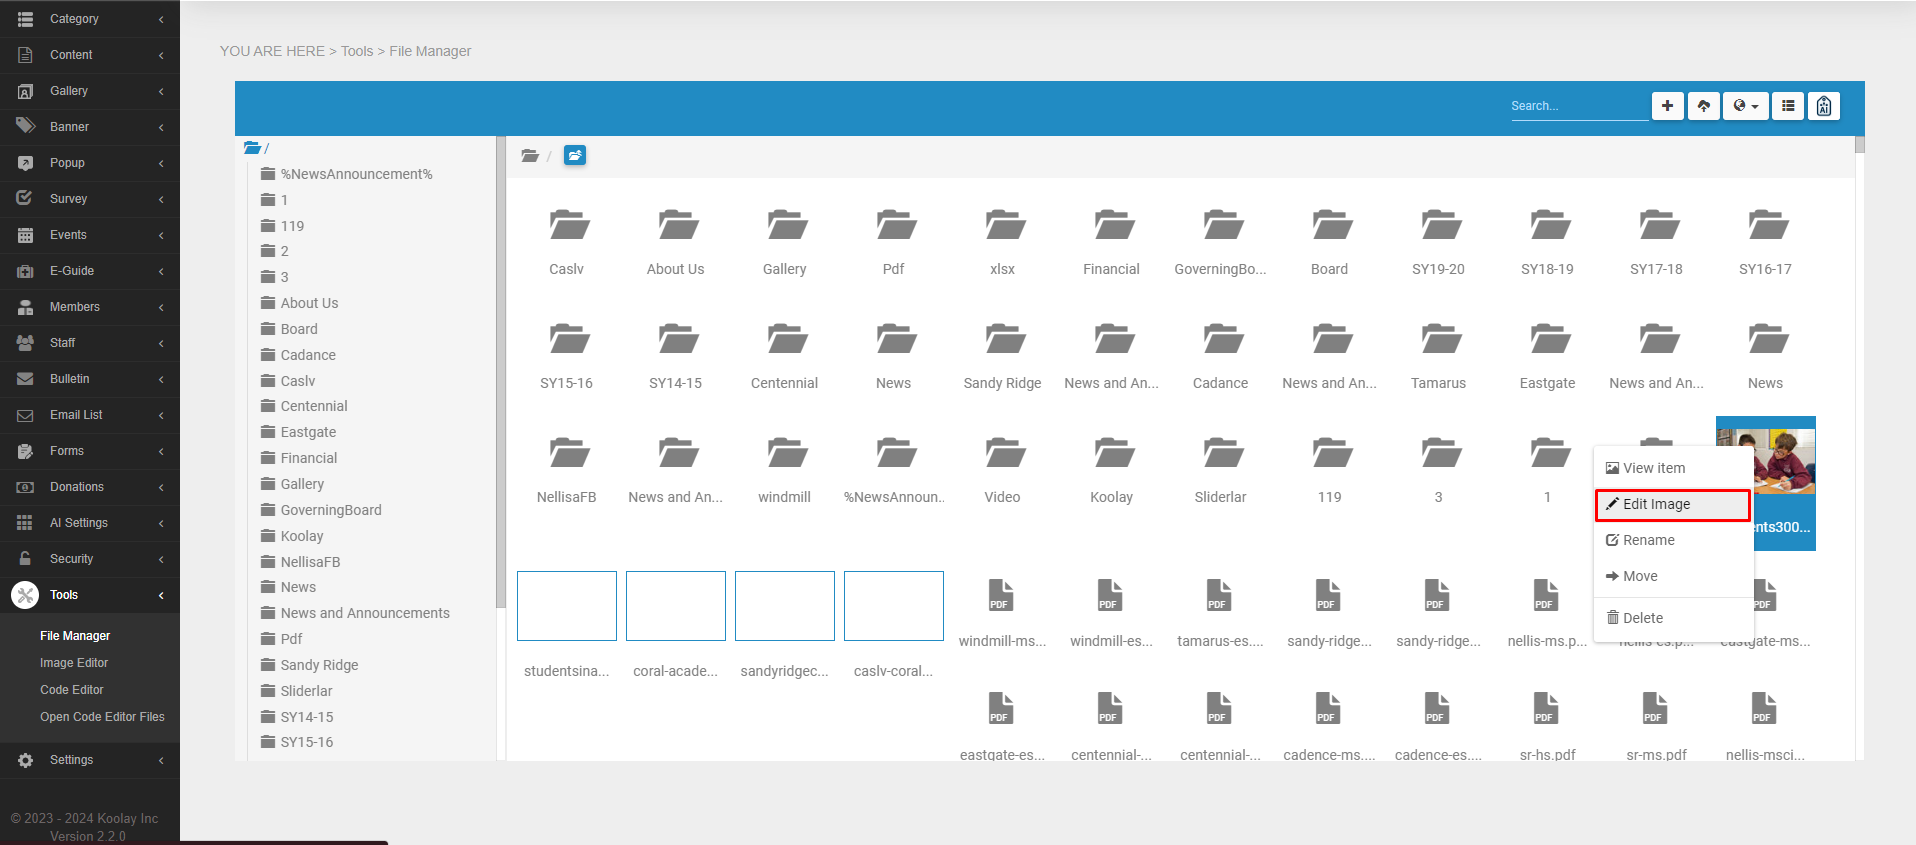
Access the "File Manager" section.
-
Hover over the image file you wish to edit.
-
Click on the "Edit Image" option that appears when hovering over the image file.
-
This action will launch the Image Editor, enabling you to make the desired modifications to your selected image.
Code Editor
-
One of the greatest advantages our company offers is the ability to access front-end code without the need for a developer. You have access to JavaScript, CSS, HTML, and relevant module liquid syntax codes, enabling you to make desired changes swiftly.
-
To utilize this feature, you must first have a basic understanding of HTML and familiarity with liquid syntax programming, which was initially developed by Shopify and later customized by our company.
-
Login to the Koolay Console with your credentials.
-
Access the left-side toolbar.
-
Select “Code Editor” from the “Tools” link options.
-
You can edit the code within the selected file by choosing it from the right-hand side.
-
For more detailed information on this topic, please visit the "Developer" menu on our website.
Making CSS changes in Code Editor
- Login to the Koolay Console with your credentials.
- Access the left-side toolbar
- Select “Code Editor” from the “Tools” link options
- Open a file with CSS code in the file manager that opens
- Find the piece of code you want to change
- For example, in the image, the border border thickness of the css code fragment with id number ".social_content1" has been changed.
- Press the "Save" button at the top left to save the changes you have made.

Making JS changes in Code Editor
- Login to the Koolay Console with your credentials.
- Access the left-side toolbar
- Select “Code Editor” from the “Tools” link options
- Open a file with JS code in the file manager that opens
- Find the piece of code you want to change
- Then add, edit or delete a js code.
- Press the "Save" button at the top left to save the changes you have made.

Making Liquid changes in Code Editor
- Login to the Koolay Console with your credentials.
- Access the left-side toolbar
- Select “Code Editor” from the “Tools” link options
- Open a file with LIQUİD code in the file manager that opens
- Find the piece of code you want to change
- Then add, edit or delete a LIQUİD code.
- Press the "Save" button at the top left to save the changes you have made.

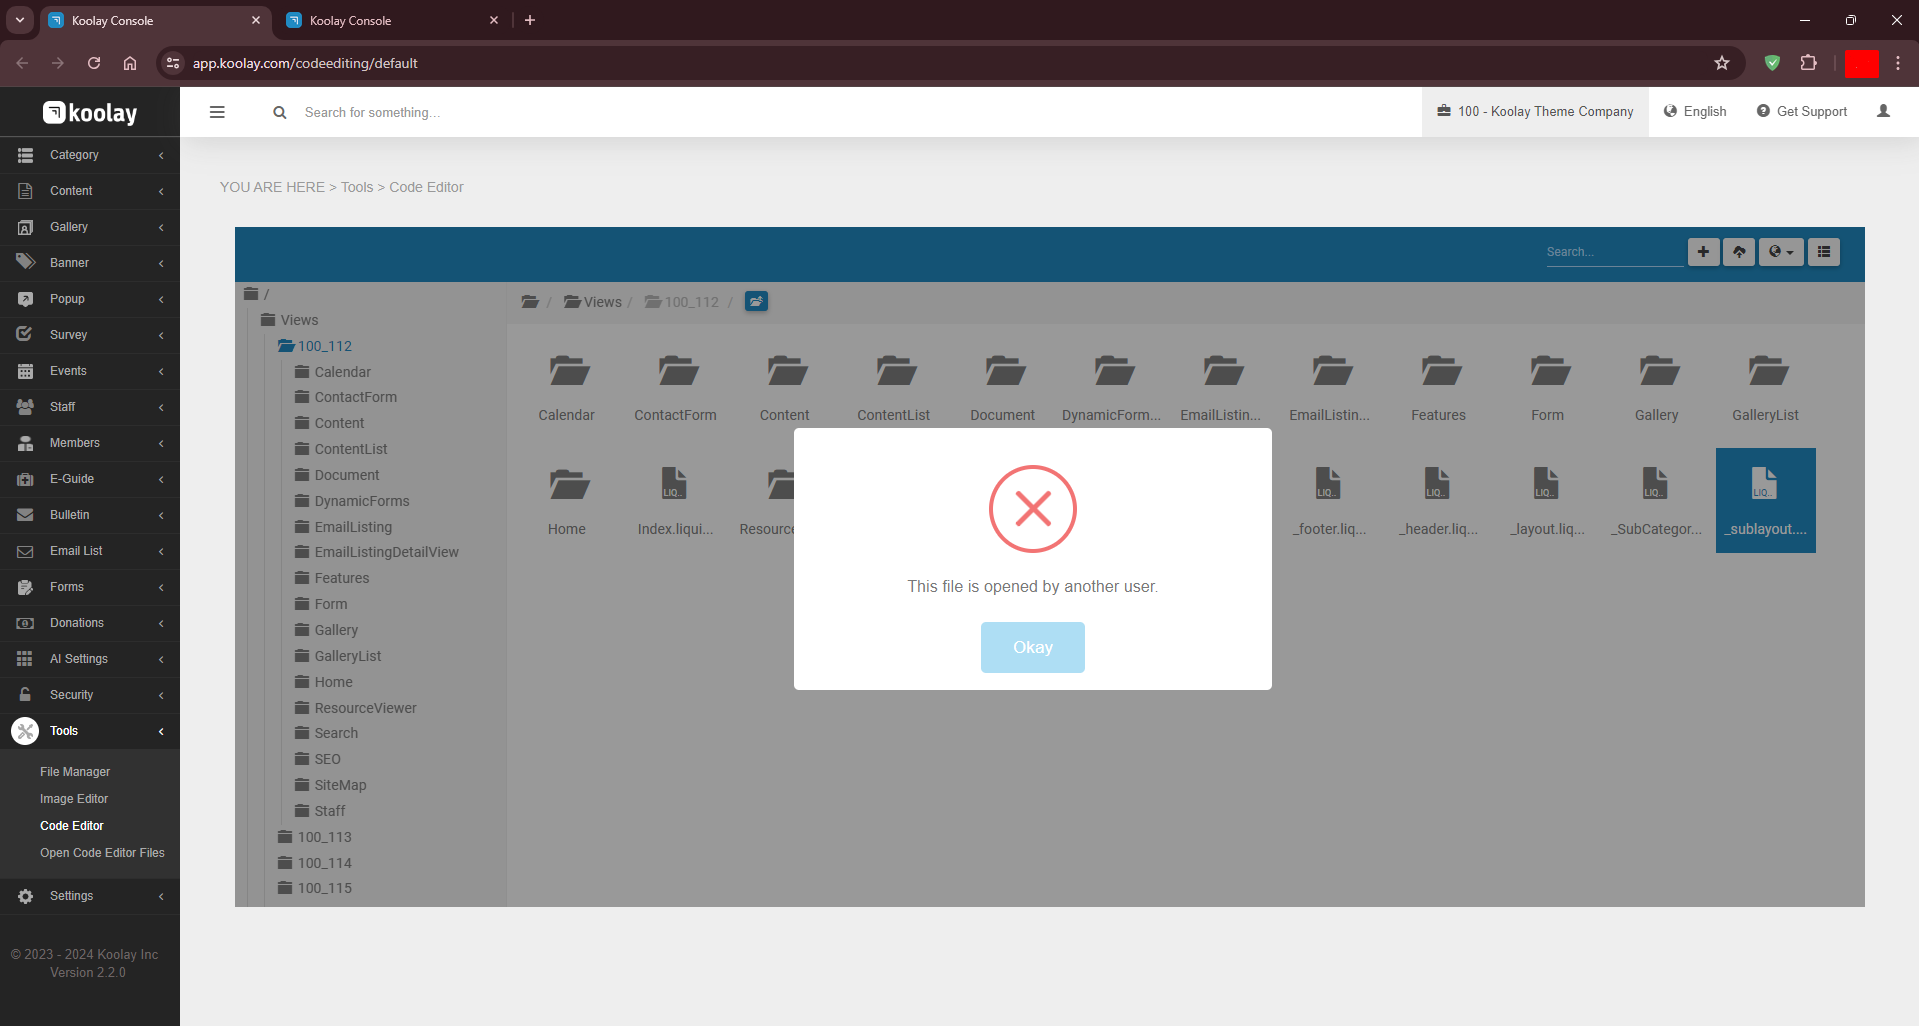
Open Code Editor Files
-The newly introduced File Lock feature is designed to make it easy for customers to make minor changes to their site code, even if they don't have coding knowledge. This feature allows you to modify your site's front-end code, including CSS, images, JavaScript, Liquid, and HTML, with full control at any time, without the need for a developer. Our system is web-based and supports multi-user management, so it includes a lock system that prevents the same file from being edited by multiple users simultaneously. This feature is expected to be extremely useful for customers, enhancing their experience by allowing them to manage their sites independently and securely.
- "File Lock" feature is activated if the same script file is currently being used by more than one person
See Unlocked Code Files and Unlock Active Contacts
- Login to the Koolay Console with your credentials.
- Access the left-side toolbar.
- Select “Open Code Editor File” from the “Tools” link options.
- You can see the code files and who is active here
- Also, if there is a user you want to unlock, just press the "Unlock" button.
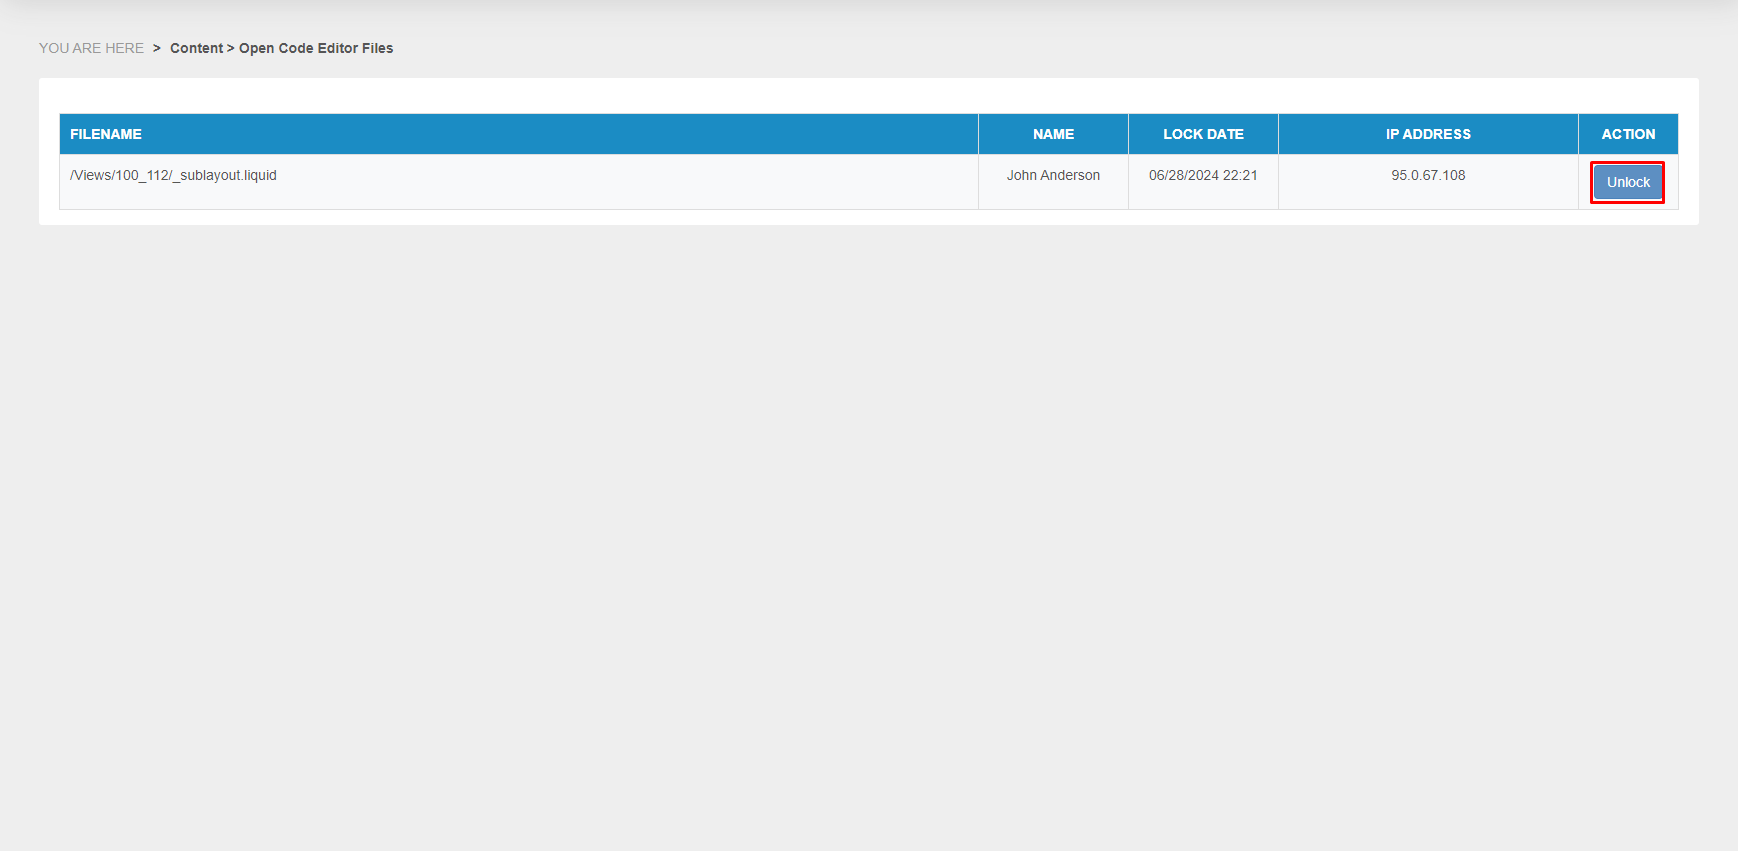
Image Size Optimization
-
Login to the Koolay Console with your credentials.
-
Access the left-side toolbar.
-
Select “New Content” from the “Content” link options.
-
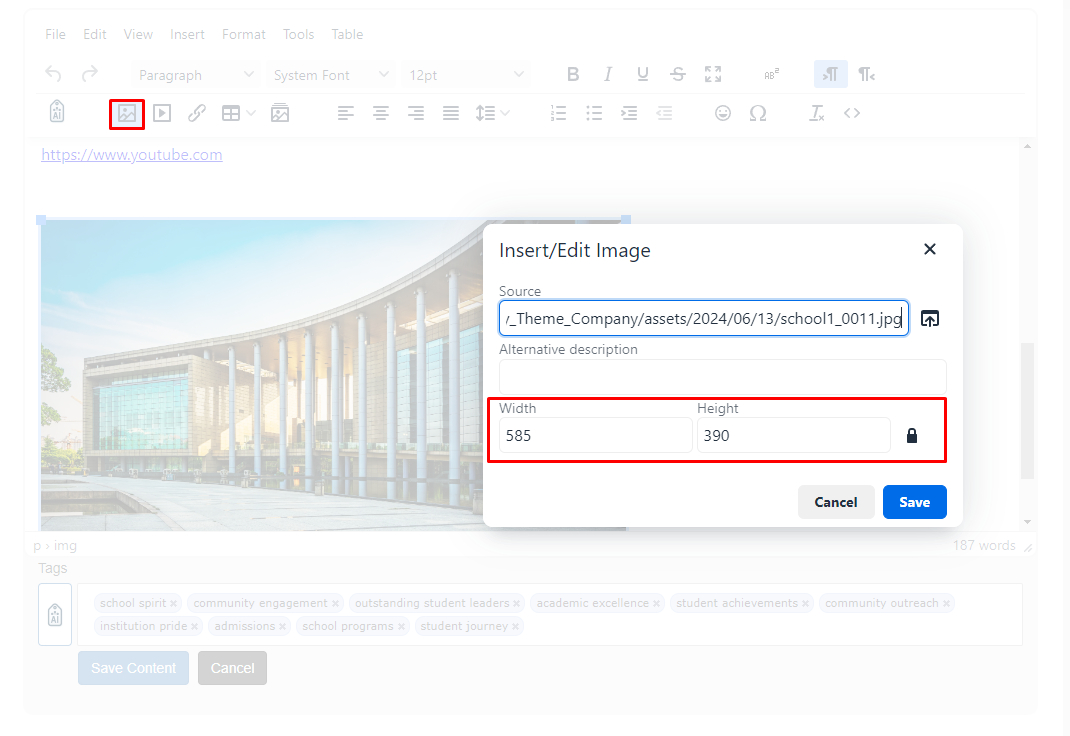
You need to resize the image you uploaded for site compatibility
-
Click on the 'insert/edit image' button for this.
-
Here, you can adjust the width and height of the image using the 'width' and 'height' properties.
-
You can also use an image editing application to adjust the size of the image.
Last updated on 2024-04-13 04:34:16Z by Koolay